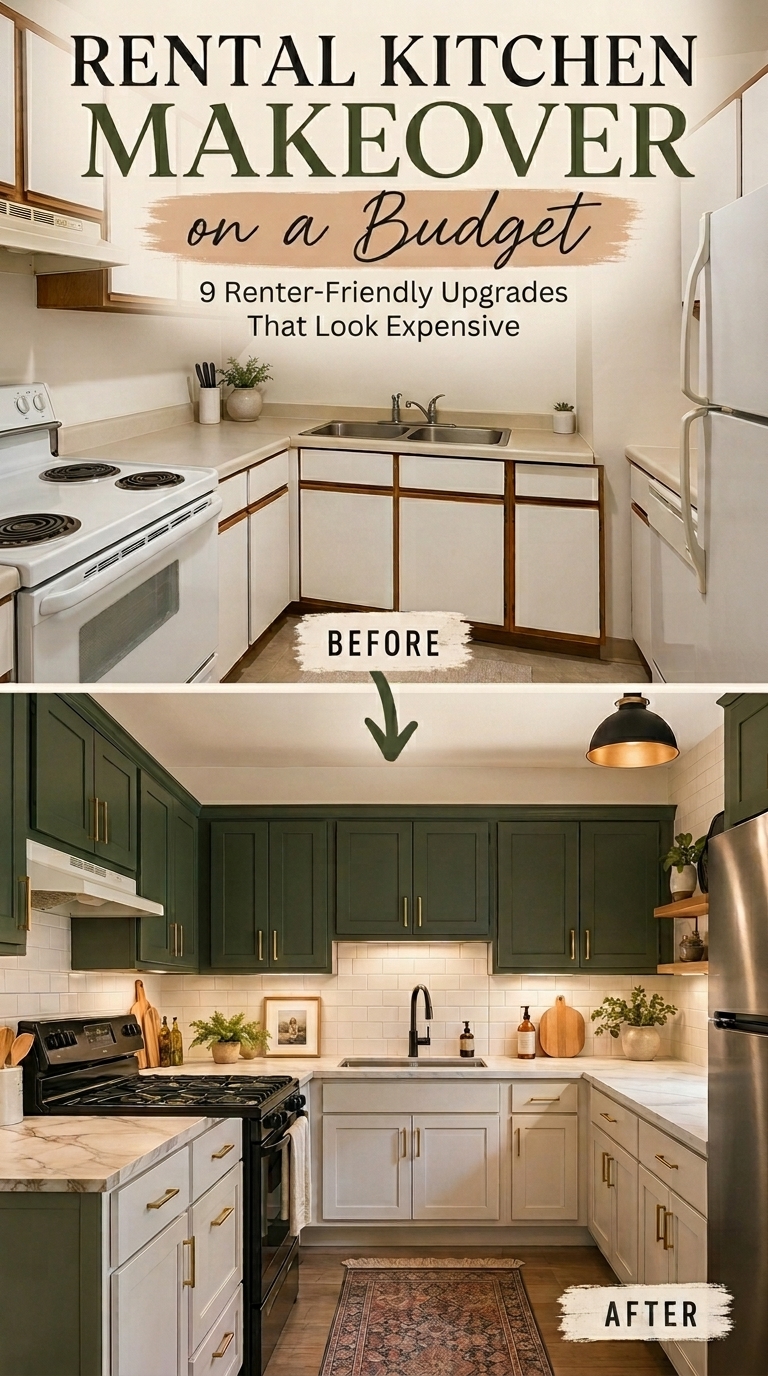
Rental Kitchen Makeover on a Budget: 9 Renter-Friendly Upgrades That Look Expensive
You walk into your kitchen every day and probably know exactly what bothers you. Maybe the cabinets feel dated, the laminate counters have seen better days, or the overhead light makes everything feel cold and flat. If you’ve ever wanted a rental kitchen makeover on a budget, you’ve probably also wondered how much you can actually change without risking your deposit.
The temptation is to fix everything at once. New cabinets, new countertops, better lighting—the list can grow quickly. But there’s one problem: you don’t actually own the place. Spending thousands of dollars renovating a rental kitchen doesn’t make much sense when you’re the one paying for it.
The good news is that a rental kitchen makeover on a budget doesn’t require a sledgehammer or a designer budget. Often, a few carefully chosen changes can have a much bigger impact than a full renovation.
Of course, not every renter-friendly idea is completely risk-free. Some changes depend on your lease, landlord, and the surface you’re working with. So before you start painting, sticking, drilling, or replacing anything, make sure you know what’s allowed.
The goal isn’t to make your kitchen look like a showroom. It’s to make it feel warmer, more polished, and more like your own—without putting your security deposit at unnecessary risk.
Before Starting Your Rental Kitchen Makeover
Before ordering hardware or unrolling adhesive, take a few minutes to understand what your lease allows. A rental kitchen makeover on a budget should make your kitchen better—not leave you with an expensive surprise when you move out.
Read Your Lease First
“Renter-friendly” on a product label doesn’t automatically mean your landlord allows it. Rules vary by property, so check before making changes.
- Usually low-risk: Swapping existing hardware, using plug-in lighting, adding rugs, or bringing in freestanding storage.
- Often restricted: Painting cabinets or walls, drilling new holes, hardwiring lights, or removing cabinet doors.
- Surface-dependent: Peel-and-stick tiles and contact paper can damage some drywall, laminate, or painted surfaces when removed.
If you’re unsure, ask your landlord or property manager before making a permanent or adhesive change. You can also review HUD’s renter guidance for a broader overview of renter responsibilities.
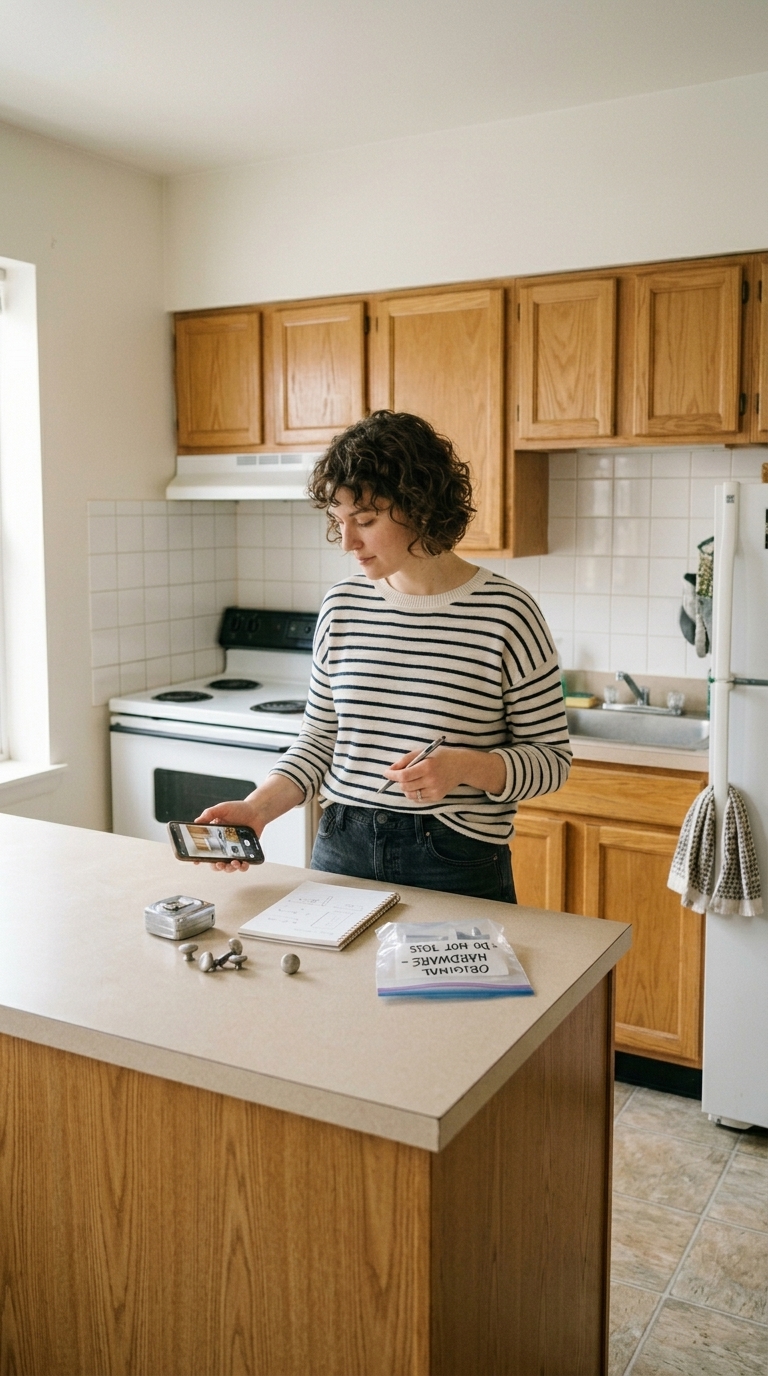
Photograph the Kitchen Before You Change It
Take clear photos of the kitchen before you start. Capture the cabinet fronts, existing hardware, countertops, backsplash, lighting, and any marks or damage already there.
Keep the photos in a dedicated folder on your phone. They give you a record of the kitchen’s original condition if questions come up when you move out.
Keep the Original Parts
If you replace existing knobs, pulls, or other removable hardware, don’t throw the originals away.
Put them in a labeled zip-top bag and store them somewhere safe. When your lease ends, you can reinstall the original pieces and take your upgrades with you.
Start With a Free Rental Kitchen Makeover
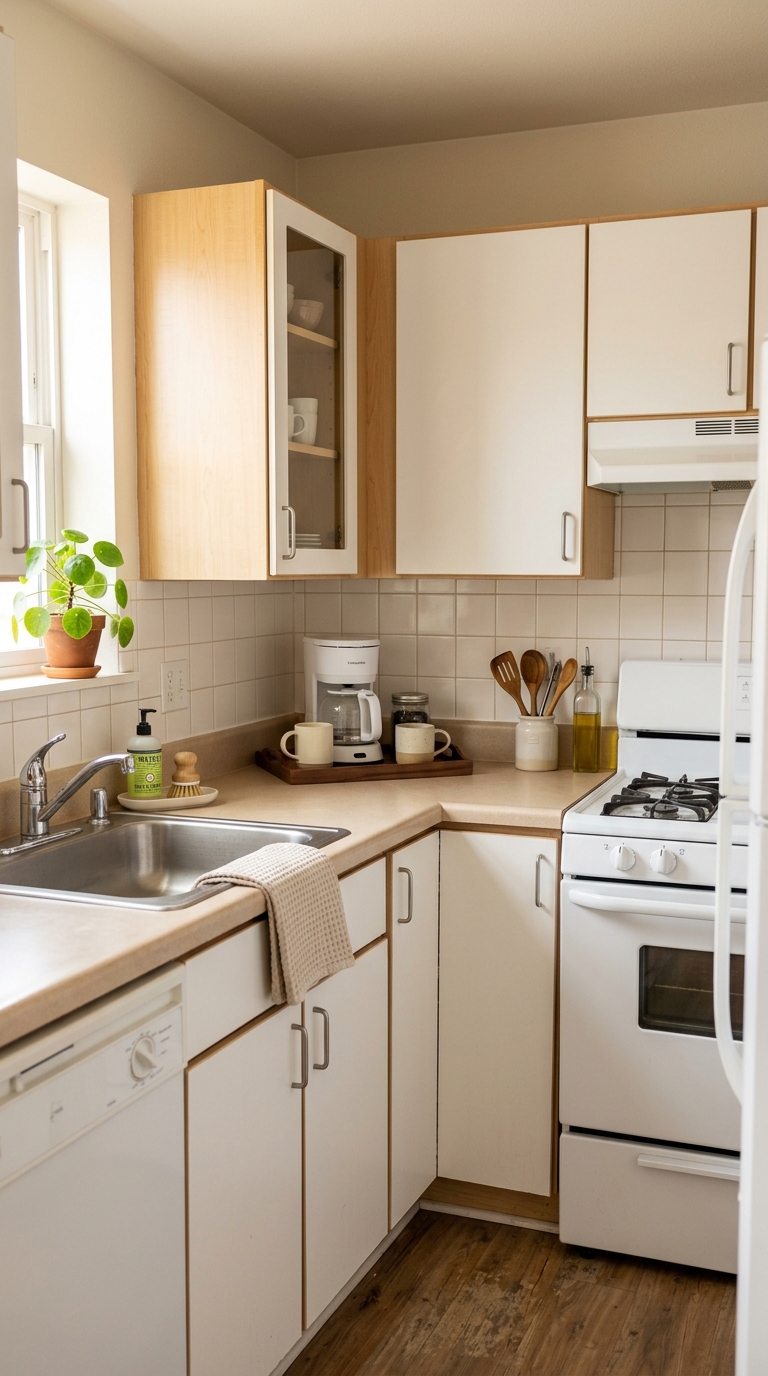
Before spending money on decor or adhesive products, start your rental kitchen makeover on a budget with what costs nothing: clear the visual clutter.
A kitchen can look more dated than it really is when counters are covered with appliances, food packaging, paperwork, and everyday odds and ends. Clear some of that away first, and you’ll have a better idea of what actually needs changing.
Clear the Counters
Take off anything that doesn’t need to stay out every day, such as:
- Mail, keys, and paperwork
- Food packaging and bulky containers
- Appliances you only use occasionally, like a blender or mixer
Put these things away where they’re still easy to reach. If your cabinets are already packed, don’t simply move the clutter from one surface to another.
Even a little open counter space can make a small kitchen feel calmer and more spacious.
Create Simple Kitchen Zones
For the things you use every day, group them instead of spreading them across the counter.
- Cooking zone: Keep oil, salt, and frequently used utensils near the stove.
- Coffee zone: Keep the coffee maker, mugs, and coffee supplies together.
- Sink zone: Place dish soap and scrubbers together in a small tray or dish.
Everything doesn’t have to be hidden. It just needs to have a reason for being there.
Deep-Clean Before You Upgrade
Before deciding that your cabinets or countertops need an upgrade, clean them properly.
Wipe down cabinet fronts, backsplash areas, the stove hood, countertop seams, and around the faucet. Grease and dust can make even decent finishes look tired.
A deep clean won’t turn a dated rental into a brand-new kitchen, but it can make the space look noticeably fresher—and give you a better starting point for the upgrades ahead.
Upgrade the Lighting in Your Rental Kitchen
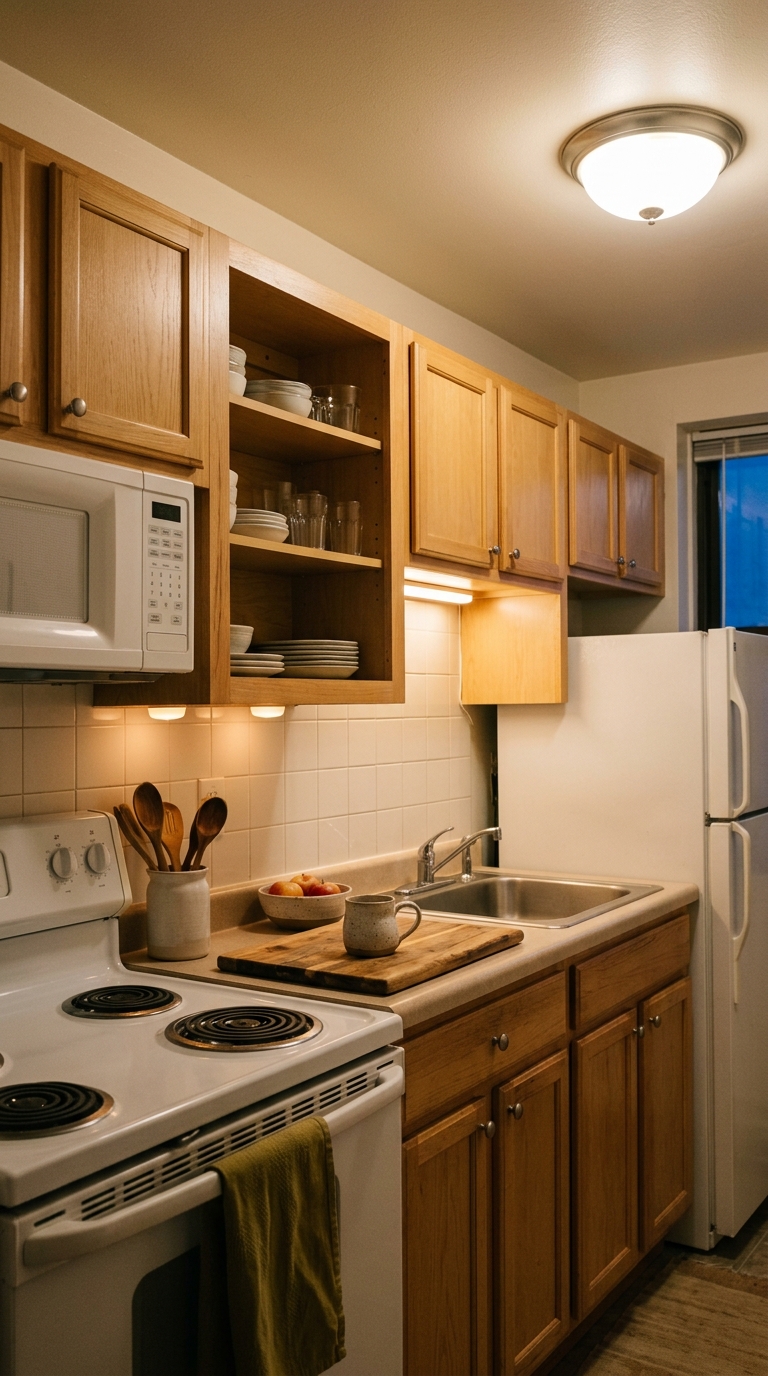
Before changing cabinets or countertops, take a look at the lighting. A single harsh ceiling fixture can make an otherwise clean kitchen feel cold and dated.
Improving the lighting is one of the easiest ways to make a rental kitchen makeover on a budget feel more complete without a renovation.
Switch to Warmer Kitchen Lighting
If your existing fixture uses replaceable bulbs, consider switching from cool, blue-toned light to a warmer white bulb around 2700K to 3000K.
Warm light can make plain cabinets and laminate surfaces feel softer and more inviting. Keep the original bulbs somewhere safe so you can put them back when you move out.
If your fixture has integrated LEDs that you can’t change, you can still improve the kitchen by adding another light source.
Add Under-Cabinet Lighting
Under-cabinet lighting can brighten your work surfaces while giving the kitchen a more finished look.
- Rechargeable puck lights: These sit beneath upper cabinets without requiring wires through the wall.
- Plug-in LED strips: These provide a longer line of light along the underside of the cabinets and work well when you have an accessible outlet.
For adhesive-mounted options, follow the manufacturer’s removal instructions and test the product on an inconspicuous area first.
Layer Your Kitchen Lighting
You don’t have to rely on one ceiling fixture to light the entire kitchen.
Combining the existing overhead light with under-cabinet lighting creates a softer, more layered effect and helps eliminate dark areas on the counters.
Sometimes, better lighting is all a dated kitchen needs to start feeling better.
Give Your Rental Kitchen Backsplash a Temporary Upgrade
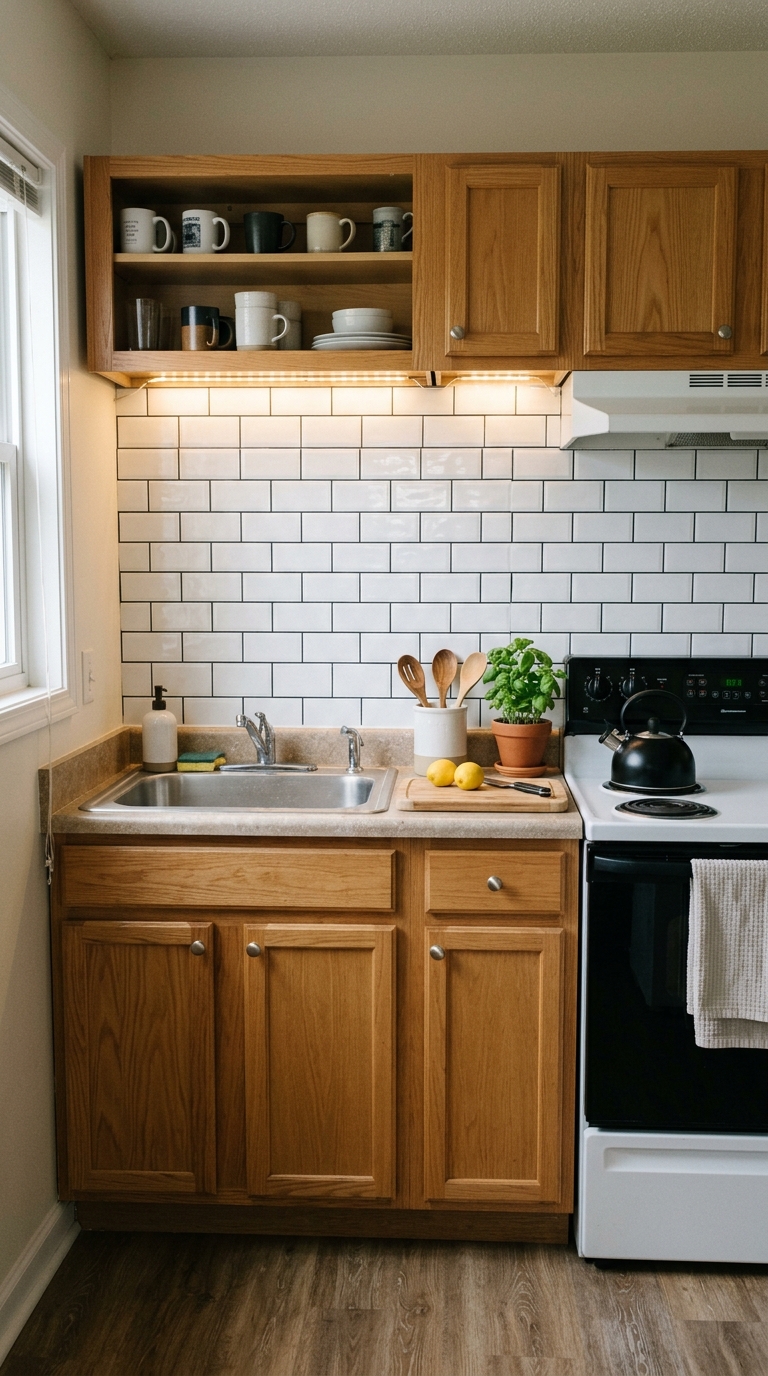
The wall behind your sink and stove naturally draws attention. In some rentals, it’s plain drywall; in others, the existing tile may look dated or worn.
A temporary backsplash can give this area a more finished look without permanent renovation. Because adhesives can react differently to different surfaces, always check your lease and test the product before covering a large area.
Try Peel-and-Stick Tile
Peel-and-stick backsplash tiles can create the look of traditional tile without mortar or grout.
- Classic subway tile: White or soft neutral shades can brighten the kitchen without fighting with existing cabinets.
- Textured designs: Raised patterns can add dimension, especially with under-cabinet lighting.
- Easy-to-cut sheets: Lightweight options can be trimmed around outlets and corners.
Choose a style that works with what you already have rather than trying to completely change the kitchen’s personality.
Consider Removable Kitchen Wallpaper
If you already have a backsplash and simply want more visual interest, removable vinyl wallpaper can be another option.
Look for a wipeable, moisture-resistant product, especially around the sink and cooking area. Simple geometric patterns, subtle textures, and faux finishes tend to work better in a small kitchen than busy prints.
Test the Backsplash Surface First
Adhesives can behave differently on painted drywall, laminate, and tile. Before installing anything across the entire backsplash, test a small piece in a hidden area.
Follow the manufacturer’s removal instructions and leave the test in place long enough to see how the surface reacts. If you’re unsure about the surface or your lease restrictions, ask your landlord before installing an adhesive backsplash.
That extra caution can save you from turning a budget makeover into an expensive repair.
Update Your Rental Kitchen Cabinets With New Hardware
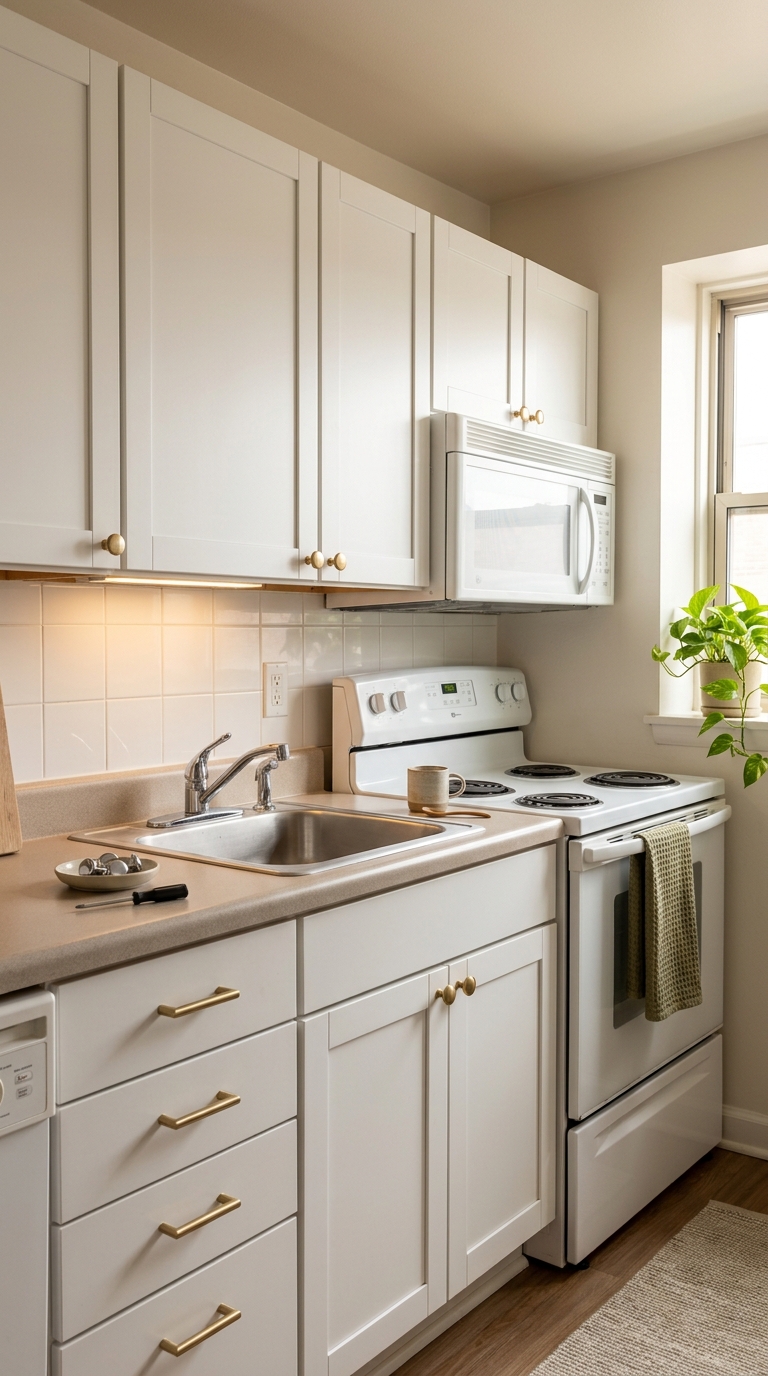
If your rental cabinets already have knobs or pulls, changing the hardware can make a surprisingly big difference. You aren’t changing the cabinets themselves—you’re simply giving them a more current detail.
The best part is that you can usually do it with a screwdriver and the holes that are already there.
Measure Your Existing Cabinet Hardware
If your cabinets have pulls with two screw holes, measure the distance from the center of one hole to the center of the other. This is called the center-to-center measurement.
Take that number with you when shopping. Your replacement pulls need to match the existing spacing so you don’t have to drill additional holes.
If your cabinets use single knobs, look for replacement knobs with the same type of mounting hole.
Choose a Cabinet Hardware Finish
You don’t need an expensive finish to make basic cabinets look better. The right hardware can give them a more intentional look.
- Matte black: Creates contrast against white or light cabinets.
- Brushed brass: Adds warmth and works especially well with neutral or darker finishes.
- Brushed nickel: A quieter option if you want something clean and understated.
Try to work with the colors already in your kitchen rather than adding another competing finish.
What If Your Cabinets Have No Hardware?
If your cabinet doors have no existing holes, don’t drill into them without permission. Leave them as they are or look for a removable solution designed for your cabinet surface.
You don’t have to change the hardware at all. If drilling isn’t an option, put that part of your budget toward lighting, organization, or another upgrade that doesn’t alter the cabinets.
Refresh Your Rental Kitchen Countertops on a Budget
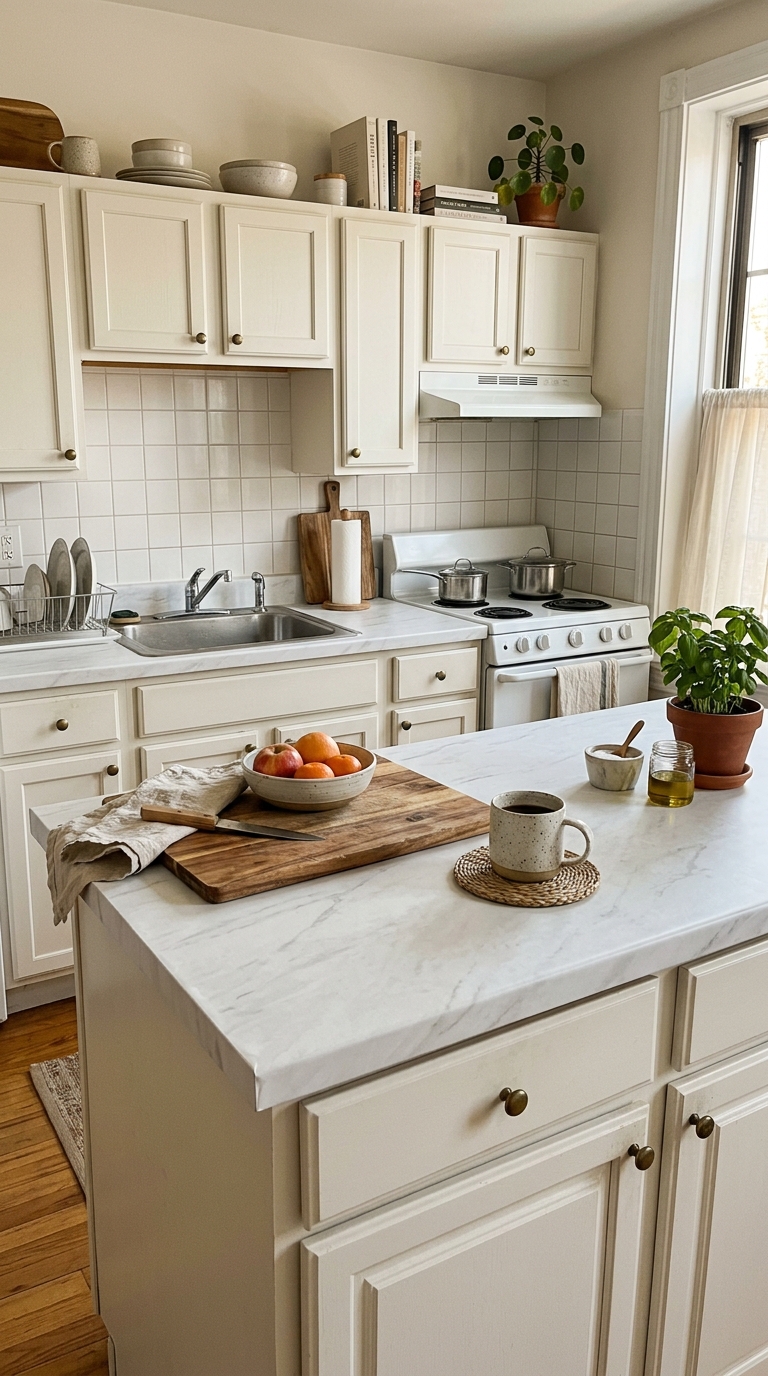
If your rental kitchen has scratched, dated, or yellowing laminate countertops, changing the surface can make a surprisingly big difference. Our guide to peel-and-stick countertops goes into more detail on choosing and applying a temporary finish.
A quality vinyl countertop wrap or contact paper can give your rental kitchen a completely different look without replacing the original counter, making it a practical option for a rental kitchen makeover on a budget.
Choose a Simple Countertop Pattern
If you’re trying to make a rental kitchen look more expensive, subtle usually works better than dramatic.
- Soft marble or soapstone: Gentle veining can disguise small imperfections without looking overly busy.
- Butcher-block look: A warm wood pattern can work well with white, cream, or neutral cabinets.
- Matte or satin finish: These tend to look more natural than very glossy finishes and are less likely to highlight every little mark.
Look for a product specifically designed for countertops rather than thin shelf liner, which may not hold up well to everyday kitchen use.
Apply the Countertop Wrap Carefully
Preparation matters almost as much as the wrap itself.
Clean the countertop thoroughly and remove grease and residue before applying anything. Work slowly, smoothing the vinyl as you go to reduce bubbles and wrinkles.
For edges and corners, gently warming the material with a hair dryer can make it more flexible and easier to shape. Don’t overheat it—you’re trying to soften the vinyl, not cook it.
Protect the Original Countertop
Even a well-installed countertop wrap needs some care.
Use a cutting board instead of cutting directly on the surface, and place hot pans on trivets or heat-resistant mats. These habits protect both your temporary upgrade and the original countertop underneath.
Before committing to the whole counter, follow the manufacturer’s removal instructions and make sure the product is suitable for your particular surface.
Warm Up Your Rental Kitchen With a Runner
Rental kitchen floors aren’t always the easiest thing to love. You might be dealing with beige tile, worn vinyl, or a basic floor that makes the room feel cold.
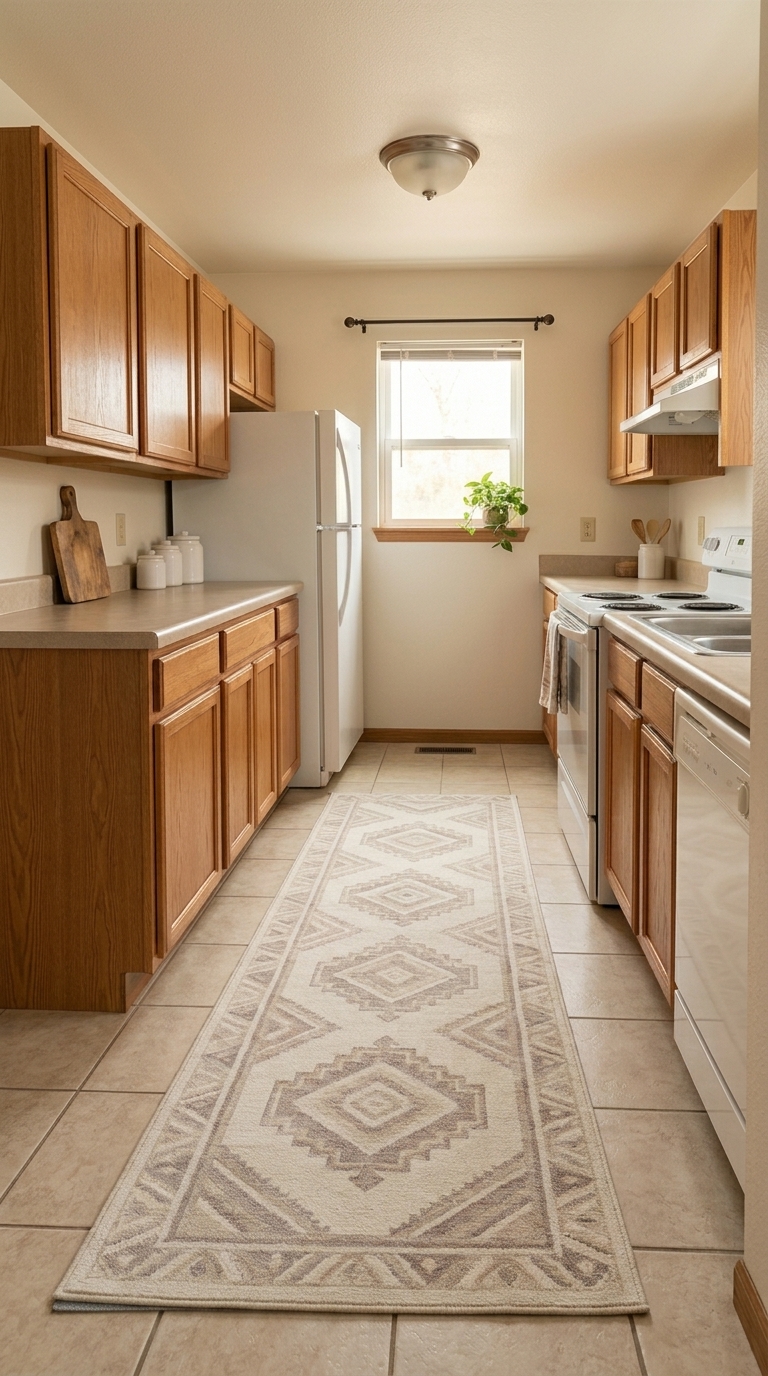
Replacing the flooring usually isn’t realistic in a rental, but a kitchen runner can add warmth, color, and softness underfoot without changing the floor itself.
Choose a Runner for Kitchen Use
Kitchens are messy, so skip delicate, high-pile rugs.
Look for a washable or easy-to-clean, low-pile runner made from flatweave cotton, polypropylene, or washable polyester. Keep it thin enough that nearby cabinet, pantry, and refrigerator doors can open without catching on the edge.
Get the Kitchen Runner Size Right
A runner should fill the main walking area without making the kitchen feel crowded.
For a narrow galley kitchen, choose a length that covers most of the walkway while leaving some flooring visible around the edges. If you’re placing one between an island and the counter, make sure it doesn’t interfere with stools, cabinet doors, or appliance access.
Add a Non-Slip Pad
Looks should come second to safety in a busy kitchen.
Use a suitable non-slip rug pad or rug tape and make sure the corners stay flat. You don’t want a sliding runner underfoot when you’re carrying a hot pan.
A good runner should make the kitchen more comfortable—not create another hazard.
Make Rental Kitchen Cabinets Look Better Without Painting
Rental cabinets can take up a lot of visual space, especially when you’re working with dated oak or plain laminate. If painting isn’t allowed, you can still make them look better by styling the areas around them.
Add Interest to Open Shelving and Cabinets
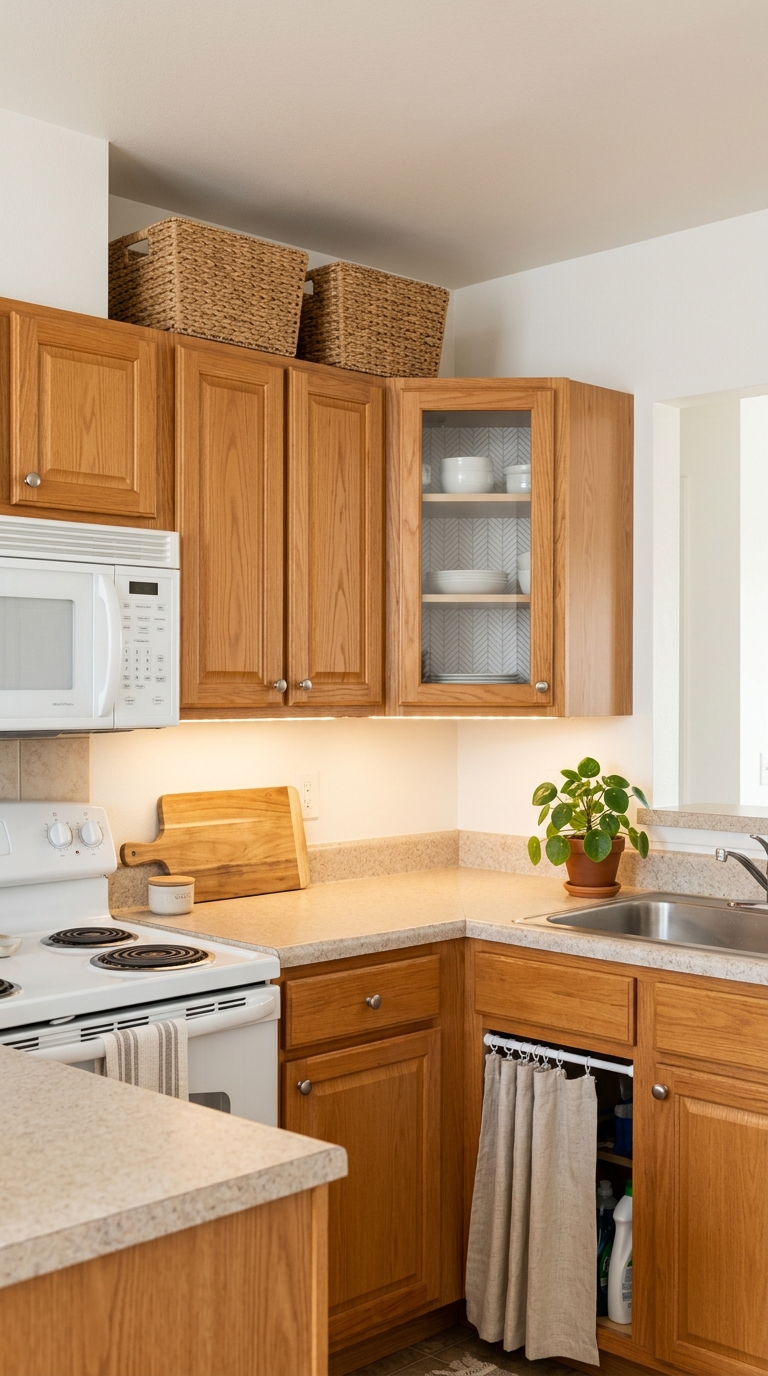
If you have glass-front cabinets or open shelving, line the back panel with removable wallpaper or contact paper. A subtle pattern or warm texture can add interest without changing the cabinet itself.
For an open space beneath the sink, a simple linen-look café curtain on a tension rod can hide cleaning supplies while adding a softer touch.
Make Use of the Space Above Cabinets
That awkward gap between the upper cabinets and ceiling doesn’t have to become a dumping ground.
Place a few matching woven baskets up there for items you rarely use. Keeping them similar in size and style makes the space look considered rather than cluttered.
These small changes won’t turn rental cabinets into custom cabinetry, but they can make basic cabinets feel more polished—without picking up a paintbrush.
Style Your Rental Kitchen With Functional Decor
Once the practical upgrades are done, resist the urge to fill every empty surface with decor. In a small rental kitchen, a few useful items can make the space feel more polished when they’re grouped deliberately.
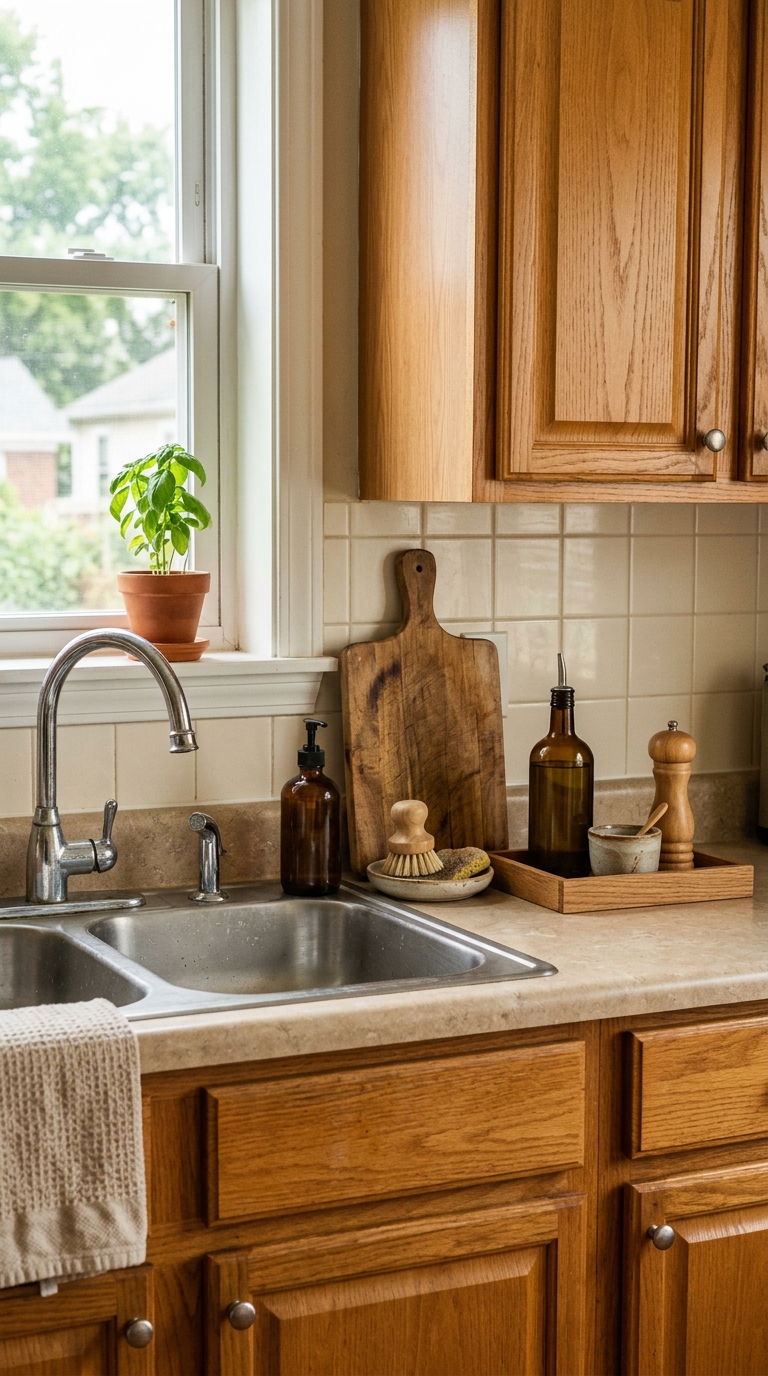
Style What You Already Use
Keep everyday essentials together instead of scattering them across the counter.
- Create a small tray: Group cooking oils, salt, and peppercorns on one tray or wooden board.
- Tidy the sink area: A simple soap dispenser and small dish for your scrubber can make the area feel more pulled together.
- Add a wooden cutting board: Lean one against the backsplash to bring warmth and texture to a plain countertop.
- Bring in some greenery: A small herb pot or low-maintenance plant can add life without taking up valuable prep space.
The goal isn’t to make the kitchen look like a showroom. It’s to make the things you already use look intentional instead of scattered.
In a small kitchen, that simple shift can make the entire room feel calmer.
Add Smart Storage to Your Rental Kitchen
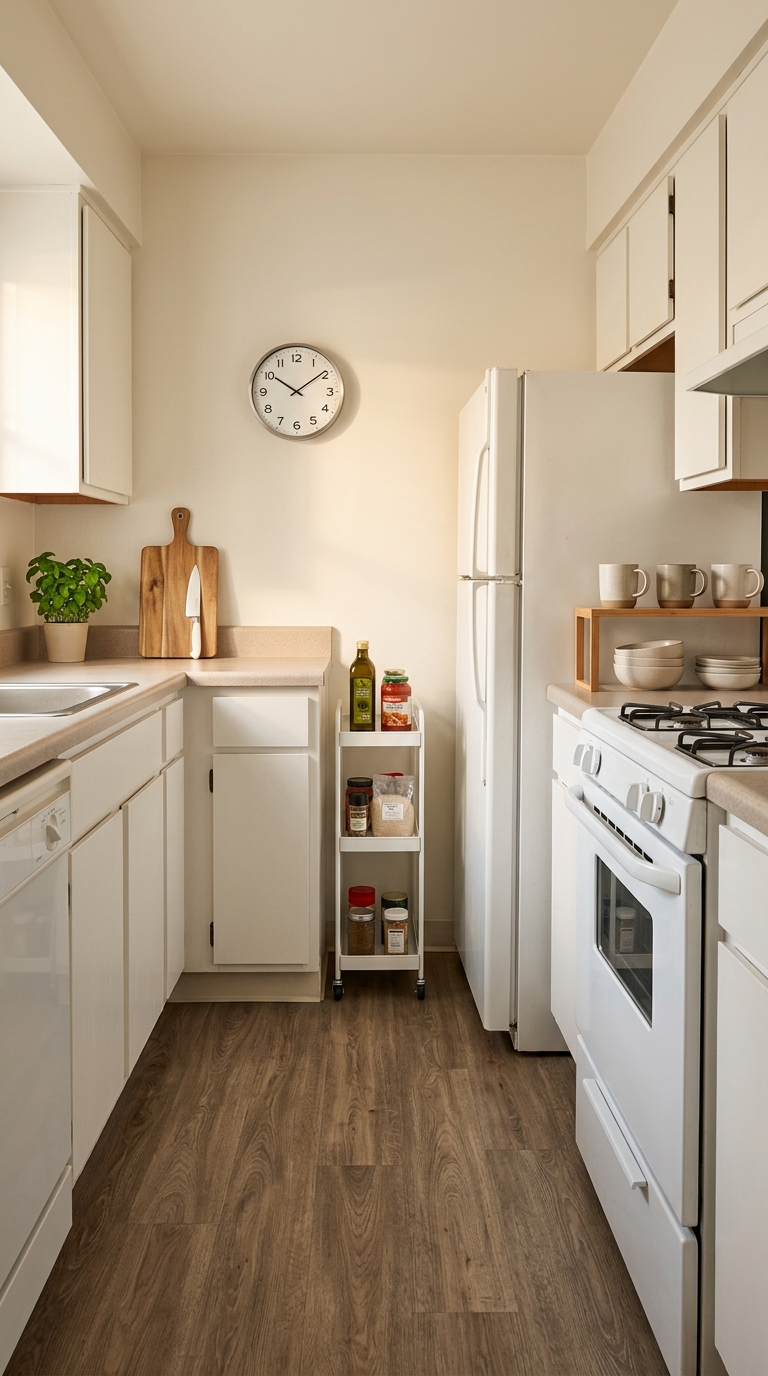
If your kitchen is short on storage, adding another cabinet can make a small rental feel even more cramped. Instead, use overlooked spaces and compact organizers that don’t take up much floor area.
Use Overlooked Kitchen Spaces
A slim rolling cart can fit beside the refrigerator or counter for pantry items, cooking oils, or small appliances.
You can also use the inside of cabinet doors for lightweight items such as measuring spoons, pot lids, or cleaning supplies. A small countertop shelf can create extra space for mugs, spices, or everyday dishes without taking over the work surface.
The best storage solutions add function without creating more visual clutter. In a rental kitchen, the most useful storage is often the kind you barely notice.
Work Around Rental Kitchen Features You Can’t Change
Some parts of a rental kitchen simply aren’t worth fighting. Maybe the cabinet color isn’t your style, the appliances don’t match, or the backsplash is permanently dated. If your lease doesn’t allow you to alter them, work around them instead.
Use Decor to Shift the Focus
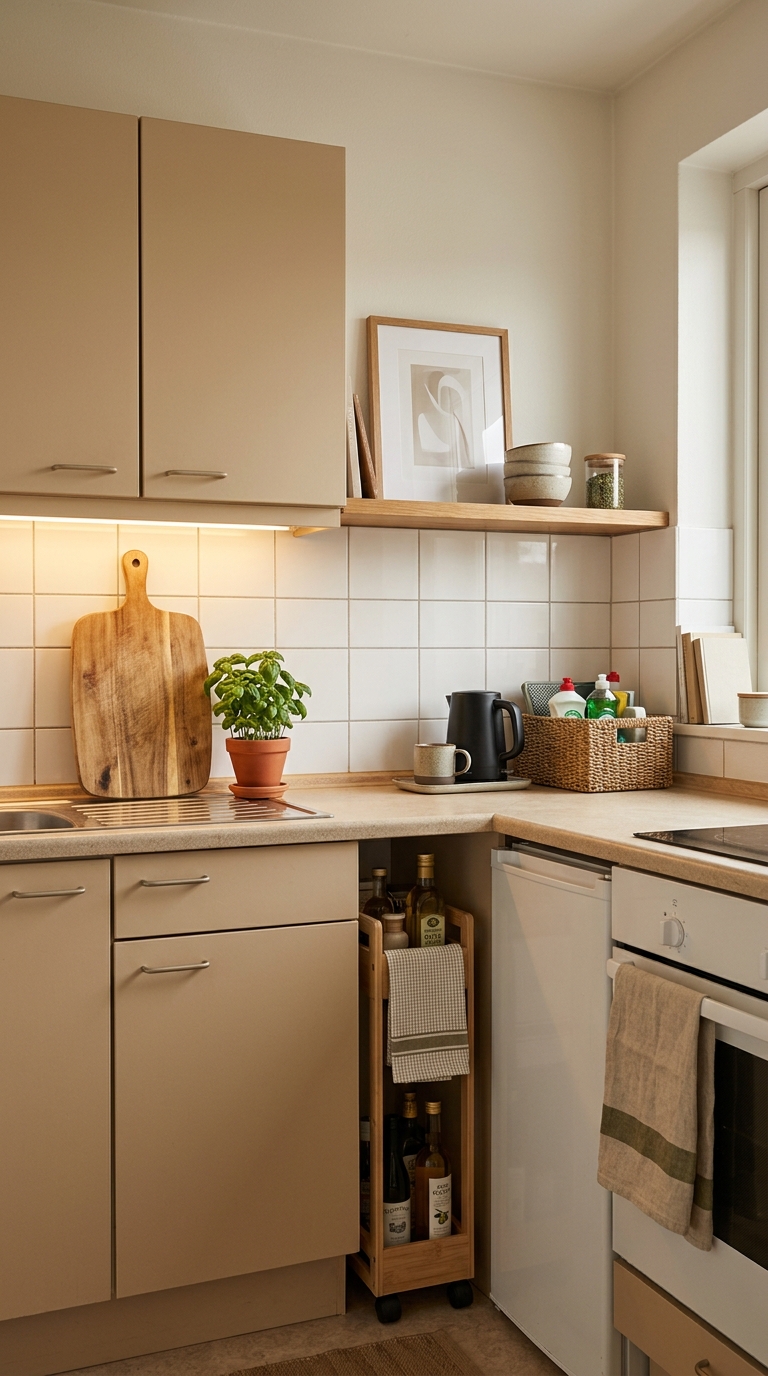
You don’t have to hide every dated feature. A framed print, small piece of artwork, or decorative object can draw attention toward something you actually like.
Textiles can also soften a utilitarian kitchen. A good-looking dish towel, café curtain, or coordinated runner can add color and texture without changing permanent finishes.
Work With the Existing Color Palette
If you’re stuck with cabinets, countertops, or flooring you wouldn’t have chosen, use them as the starting point for your decor.
Warm beige cabinets and brown countertops can work with cream, wood tones, and muted green accents. Cool gray cabinets can pair well with black, white, and natural wood.
You don’t have to love every feature. The goal is to make the things you add work with what’s already there.
Contain the Eyesores
Matching containers for pantry staples, a lidded basket for less attractive supplies, or a slim storage cart can keep everyday items contained and make unavoidable eyesores less noticeable.
The goal isn’t to hide the kitchen completely. It’s to redirect attention and create a more cohesive room with things you can take with you when you move.
Sometimes, working with what you can’t change is what makes a rental kitchen makeover on a budget practical.
Frequently Asked Questions
How can I update my rental kitchen without losing my deposit?
Focus on reversible changes allowed by your lease. Avoid drilling or painting without permission, test adhesive products first, and keep original hardware so you can reinstall it later.
What is the cheapest way to make a rental kitchen look better?
Start with free changes: clear the counters, deep-clean the kitchen, and remove visual clutter. Then consider warmer bulbs or under-cabinet lighting.
Can peel-and-stick tile damage rental walls?
Yes. Adhesives can react differently to drywall, laminate, tile, and painted surfaces. Check your lease, follow the manufacturer’s instructions, and test a small area first.
What if my cabinets don’t have existing hardware holes?
Don’t drill without permission. Leave the cabinets as they are and put your budget toward lighting, a kitchen runner, countertop organization, or freestanding storage.
Final Thoughts
A rental kitchen doesn’t have to be perfect to feel good to live in.
If you’re planning a rental kitchen makeover on a budget, start with the changes that make the biggest difference—clear the clutter, improve the lighting, add warmth, and use your existing storage more effectively. Then, if your lease allows it, add a few temporary upgrades that make the room feel more like yours.
You don’t need to renovate someone else’s kitchen to enjoy your own. A few thoughtful changes can turn a dated rental into a space you’re happy to cook in.