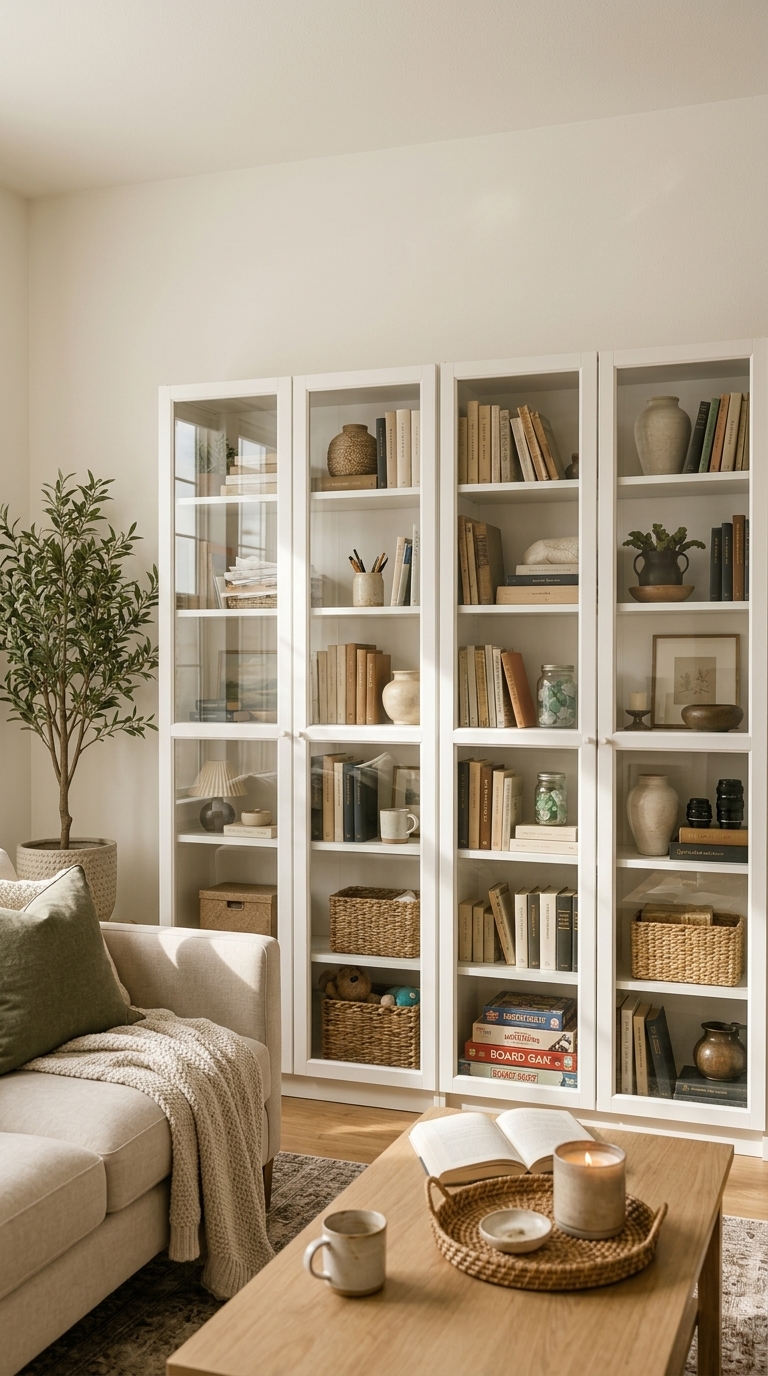
Easy DIY Pumpkin Decorating Ideas That Look Beautiful Without Carving
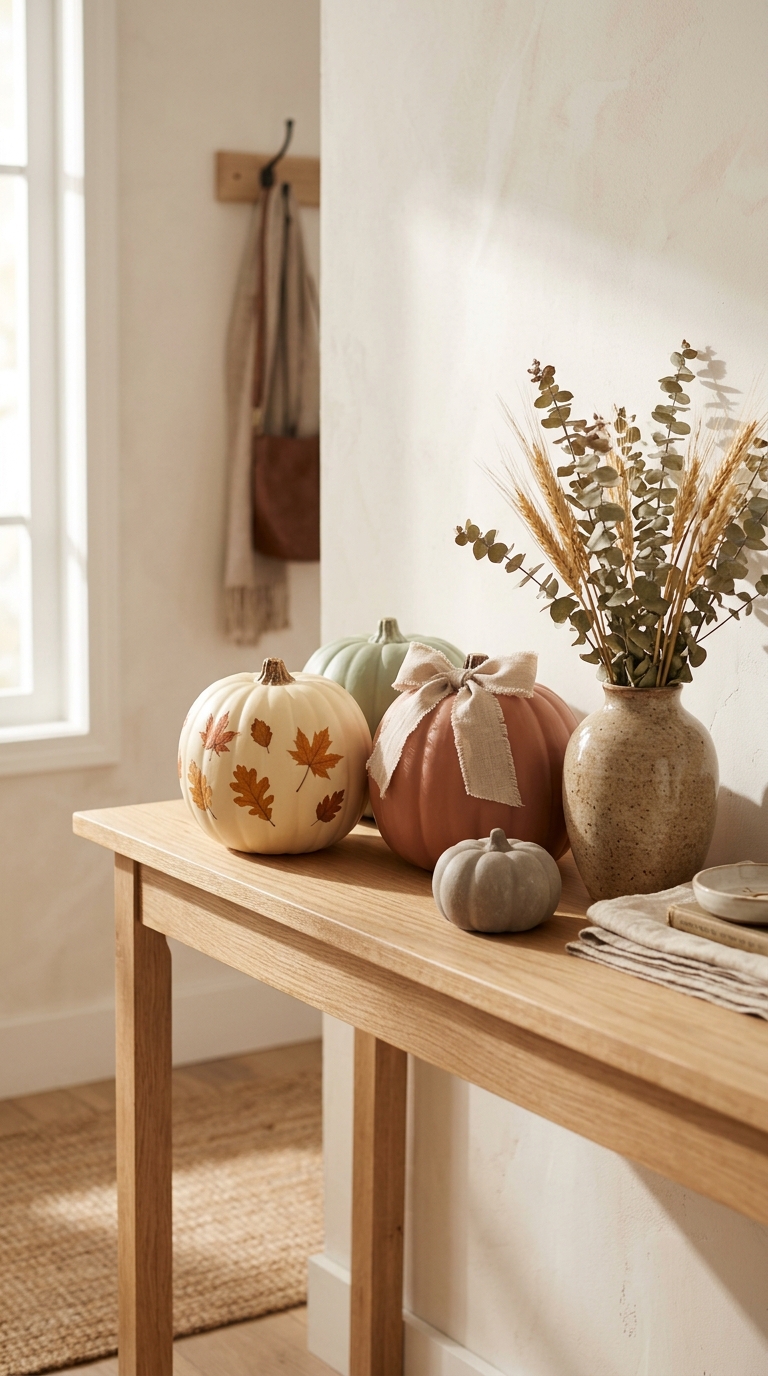
Pumpkins are one of the easiest ways to make a home feel like fall, but carving isn’t always the best option. It can be messy, takes time, and a carved pumpkin may start looking tired before Thanksgiving even arrives. The good news is that there are plenty of DIY pumpkin decorating ideas that don’t require carving at all. With a little paint, fabric, decorative paper, or natural materials, you can turn an ordinary pumpkin into something beautiful for your entryway, dining table, mantel, or front porch.
You don’t need expensive supplies or professional crafting skills, either. Some of these projects take only a few minutes, while others give you a chance to create a more personal centerpiece for your fall decorations.
Whether you have real pumpkins from a local farm stand or reusable faux pumpkins from a craft store, these ideas will help you create decorations that feel warm, welcoming, and easy to enjoy throughout the season.
11 DIY Pumpkin Decorating Ideas That Look Beautiful Without Carving
1. Make a Floral Decoupage Pumpkin
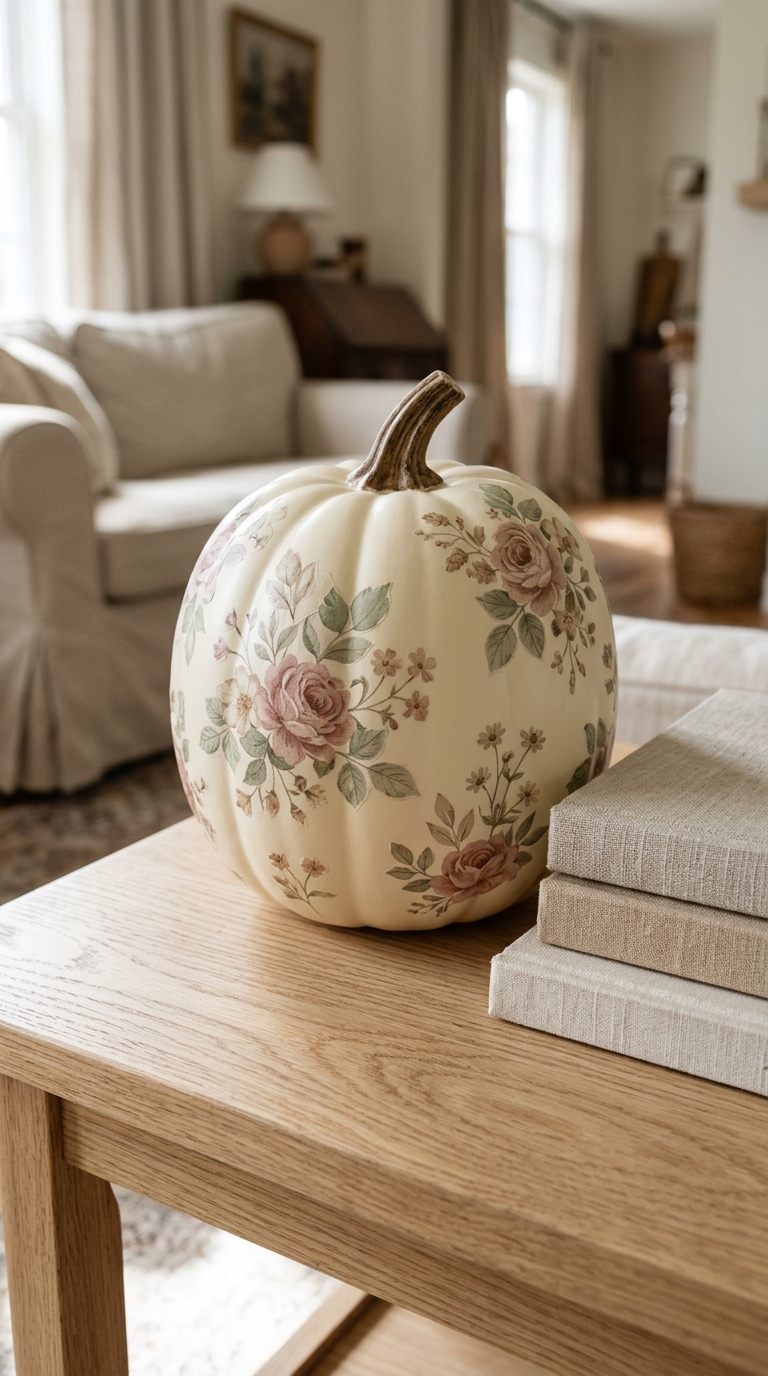
If you love a soft, romantic fall look, try decorating a pumpkin with floral paper. It’s a lovely way to introduce color and pattern without adding another bulky decoration to your room.
What you’ll need:
- A smooth, clean pumpkin
- Floral napkins or thin decorative paper
- Decoupage glue
- A soft paintbrush
- Scissors
How to make it:
Separate the printed layer of your napkin if it has multiple layers. Cut or tear small sections of the floral design. Apply a thin layer of decoupage glue to one section of the pumpkin, place the paper over it, and gently smooth it with your brush.
Continue around the pumpkin, working with small pieces so the paper follows the curves without too many wrinkles. Finish with another thin layer of glue and allow it to dry completely.
Display tip: Choose a white or cream faux pumpkin and a muted floral pattern. It looks especially pretty on a bookshelf, side table, or fall dining table.
2. Paint a Simple Checkerboard Pumpkin
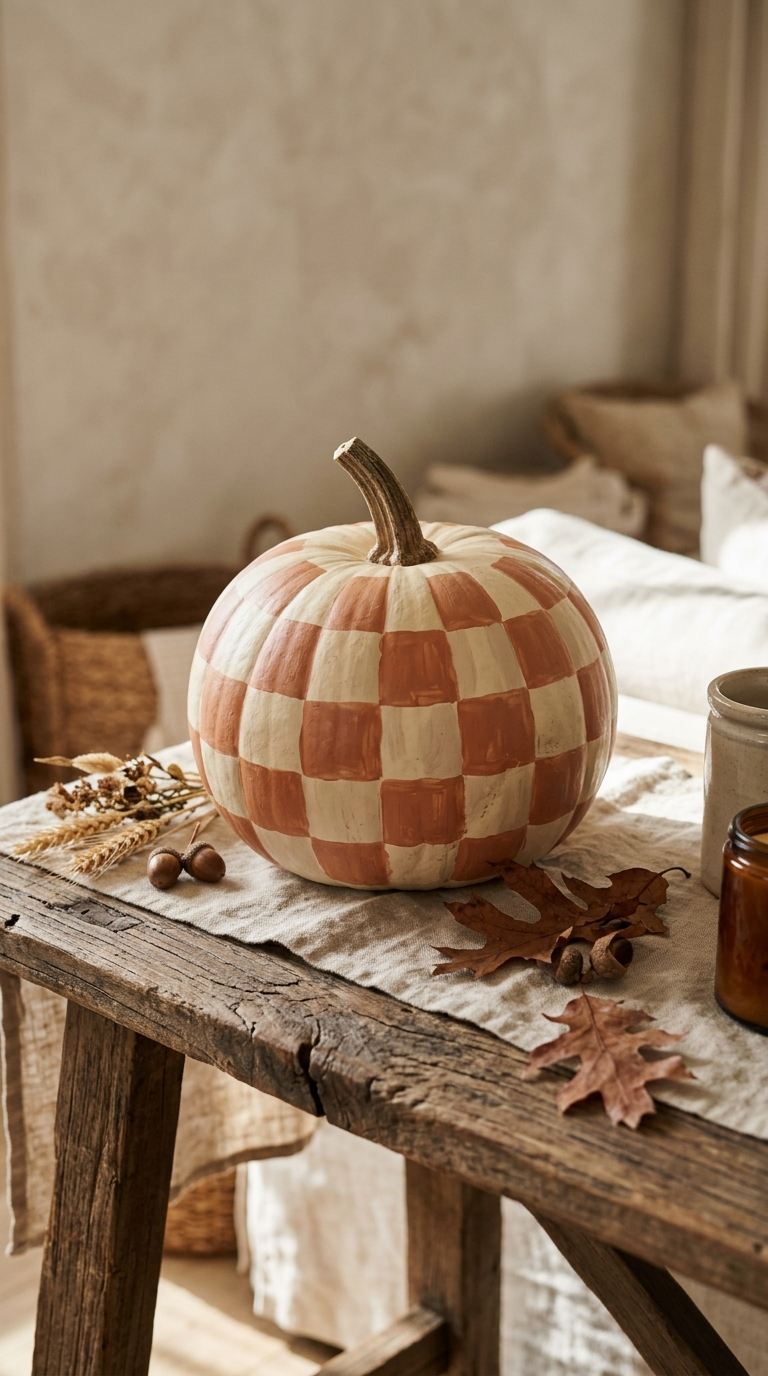
A checkerboard pattern can make an ordinary pumpkin look like a carefully chosen piece of home decor. It works particularly well if you enjoy a modern, slightly playful style.
What you’ll need:
- A smooth pumpkin
- Acrylic craft paint in two contrasting colors
- A small flat paintbrush
- A pencil and ruler
How to make it:
If your pumpkin needs a different base color, paint it first and allow it to dry. Lightly mark a grid of squares around the pumpkin using a pencil. Don’t worry about making the pattern perfectly straight across the curved surface.
Paint alternate squares in your second color, working in small sections. Allow the paint to dry before turning the pumpkin to work on another side.
Display tip: Try warm brown and cream, black and ivory, or muted terracotta and beige. A simple two-color design often looks more polished than a pattern with too many shades.
3. Create a Botanical Stencil Pumpkin
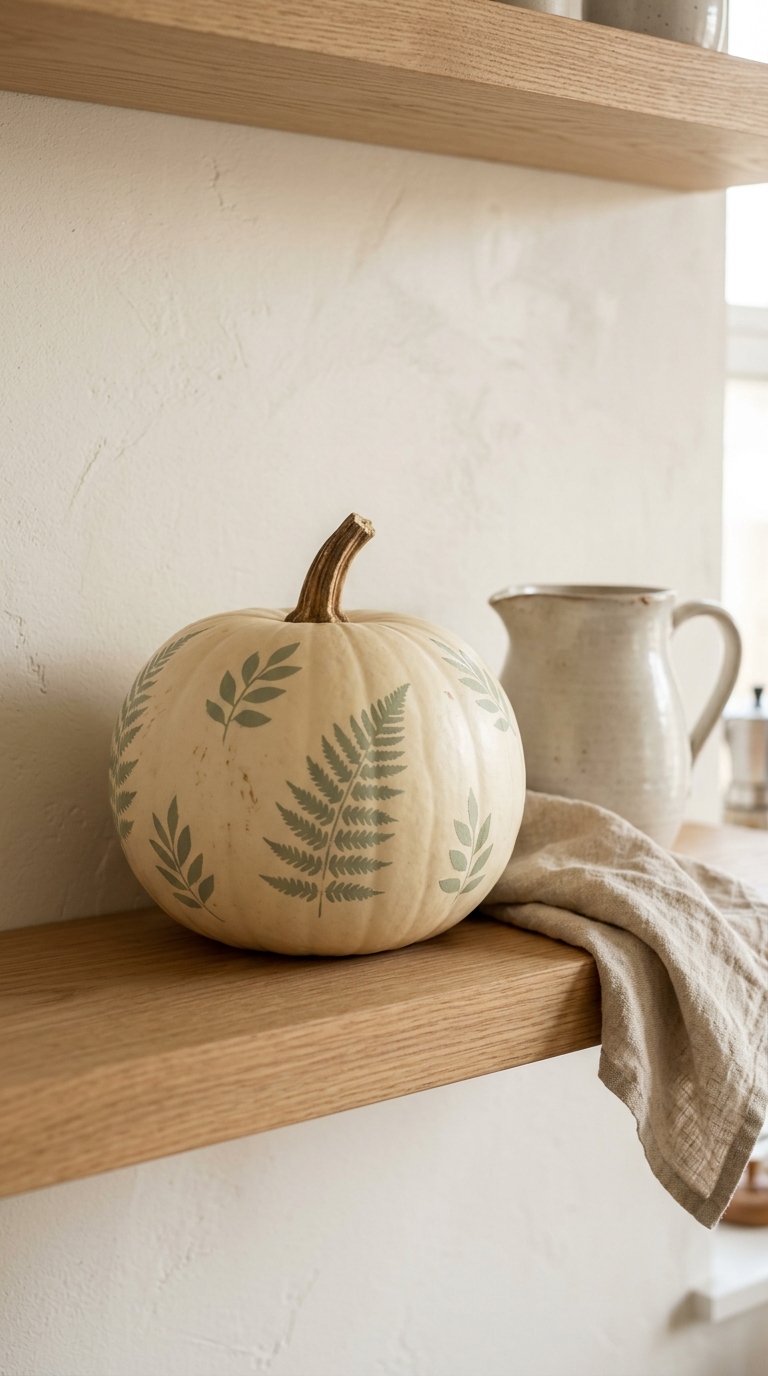
This is a good choice if you want a decorative pumpkin without covering its entire surface in paint.
What you’ll need:
- A pumpkin
- Leaf or botanical stencils
- Acrylic craft paint
- A stencil brush or small sponge
- Painter’s tape
How to make it:
Position your stencil against the pumpkin and secure it with small pieces of tape. Apply paint with a lightly loaded sponge or stencil brush, using gentle dabbing motions rather than brushing heavily.
Remove the stencil carefully and let the design dry before moving to another area. Repeat with a few leaves, leaving enough of the original pumpkin visible to keep the design from looking crowded.
Display tip: Use a cream pumpkin with sage-green leaves, or a muted orange pumpkin with small ivory botanical details.
4. Give a Faux Pumpkin a Stone-Look Finish
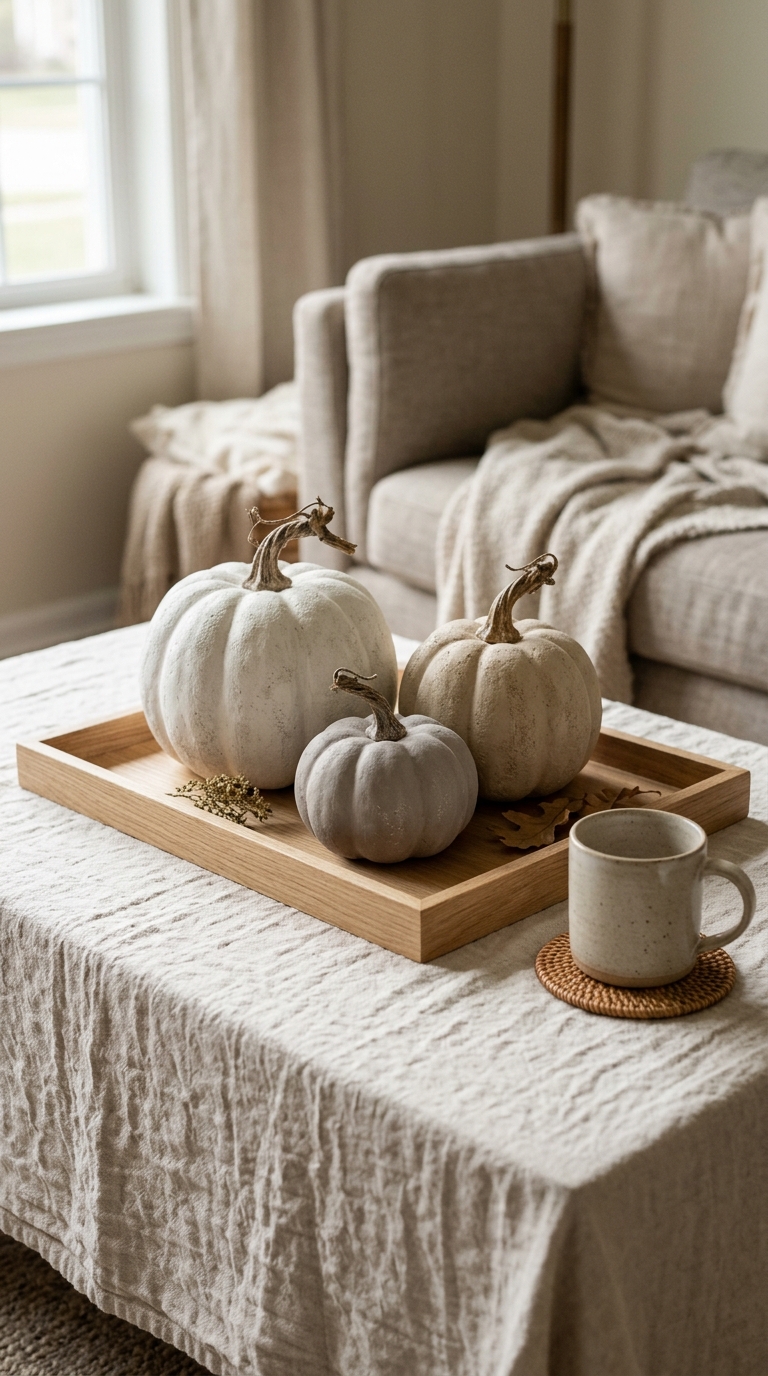
If you prefer understated decorations, a faux stone finish can make a plastic pumpkin look more like a textured ceramic or natural stone object.
What you’ll need:
- A faux pumpkin
- Matte craft paint suitable for the pumpkin’s material
- A second neutral paint color
- A sponge
- A soft brush
How to make it:
Start with a clean faux pumpkin and follow the paint manufacturer’s instructions for preparing the surface. If the paint requires a primer for plastic, apply that first.
Once the base is ready, apply a matte coat in a stone-inspired shade such as warm gray, beige, or off-white. Allow it to dry, then lightly dab a second color over the surface with a sponge.
Keep the variation subtle. You’re aiming for a soft, natural finish rather than a heavily patterned pumpkin.
Display tip: Group two or three pumpkins in different sizes on a tray. Their quiet colors work beautifully with wood, linen, and woven textures.
5. Turn an Old Sweater Into a Cozy Pumpkin Cover
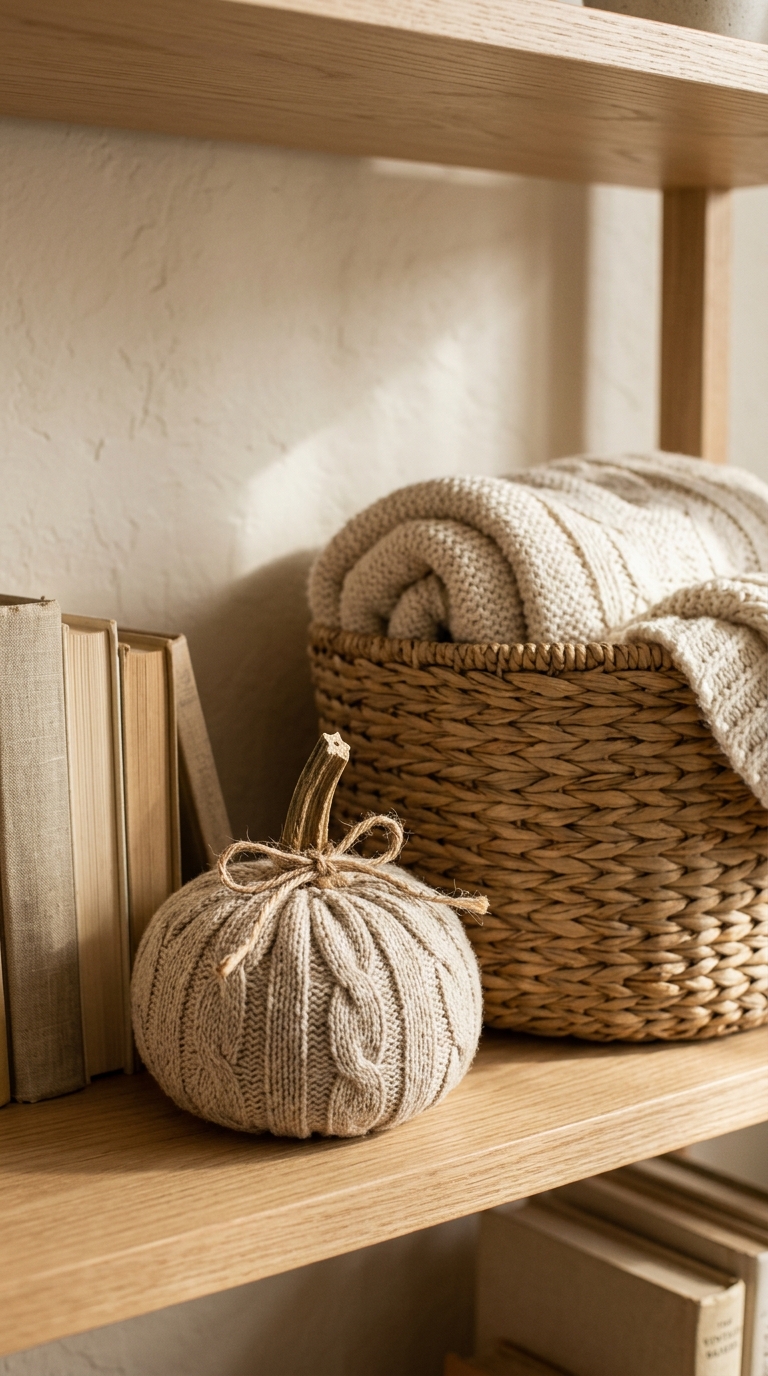
Have an old sweater you no longer wear? You can give a small pumpkin a completely different look with a little fabric.
What you’ll need:
- A small faux pumpkin
- An old sweater or textured fabric
- Scissors
- Craft glue or a suitable fabric adhesive
- Ribbon or twine for finishing
How to make it:
Cut a section of the sweater large enough to cover the pumpkin, leaving extra fabric around the top and bottom. Place the pumpkin in the middle and pull the fabric gently around it.
Gather the extra material near the stem and secure it with a small piece of ribbon or twine. Trim away excess fabric underneath so the pumpkin sits flat.
Display tip: Cream, oatmeal, soft gray, and warm brown fabrics create a cozy look. This is especially lovely on a shelf or beside a basket of blankets.
6. Create a Mini Pumpkin Centerpiece
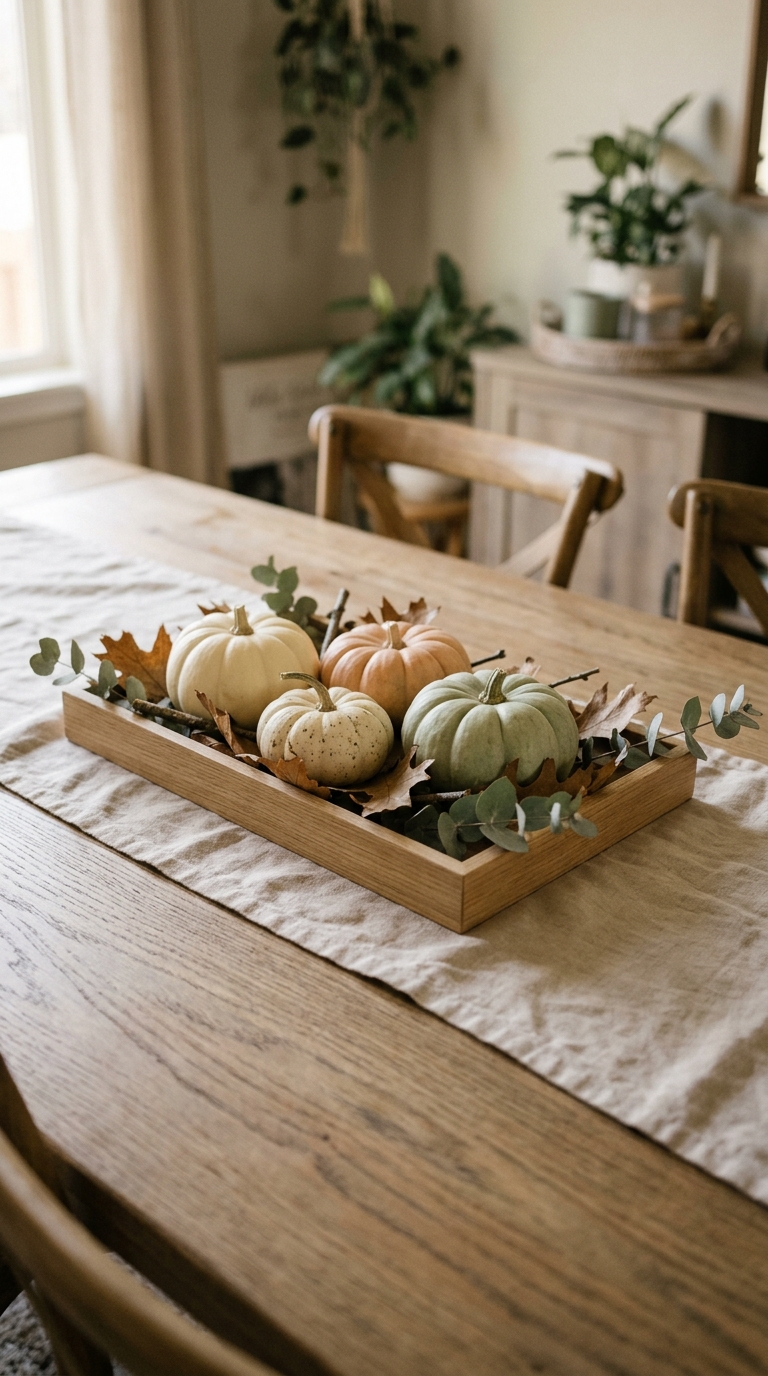
A small pumpkin arrangement can make a dining table or coffee table feel seasonal without taking up too much room.
What you’ll need:
- Three to five mini pumpkins
- A shallow tray or decorative bowl
- A few dried leaves or sprigs of greenery
- Optional small decorative accents
How to make it:
Start by placing the largest mini pumpkin slightly off-center on your tray. Arrange the smaller ones around it, varying their heights and colors. Fill only a few gaps with dried leaves or greenery.
Rather than stacking the pumpkins, keep them close together on the tray. This creates a more stable arrangement and makes it easier to move when you need the table.
Display tip: Choose a simple color palette, such as white, pale orange, and muted green. If you’re preparing a Thanksgiving table, keep the arrangement low enough that guests can see one another across it.
7. Decorate a Pumpkin With Pressed Leaves
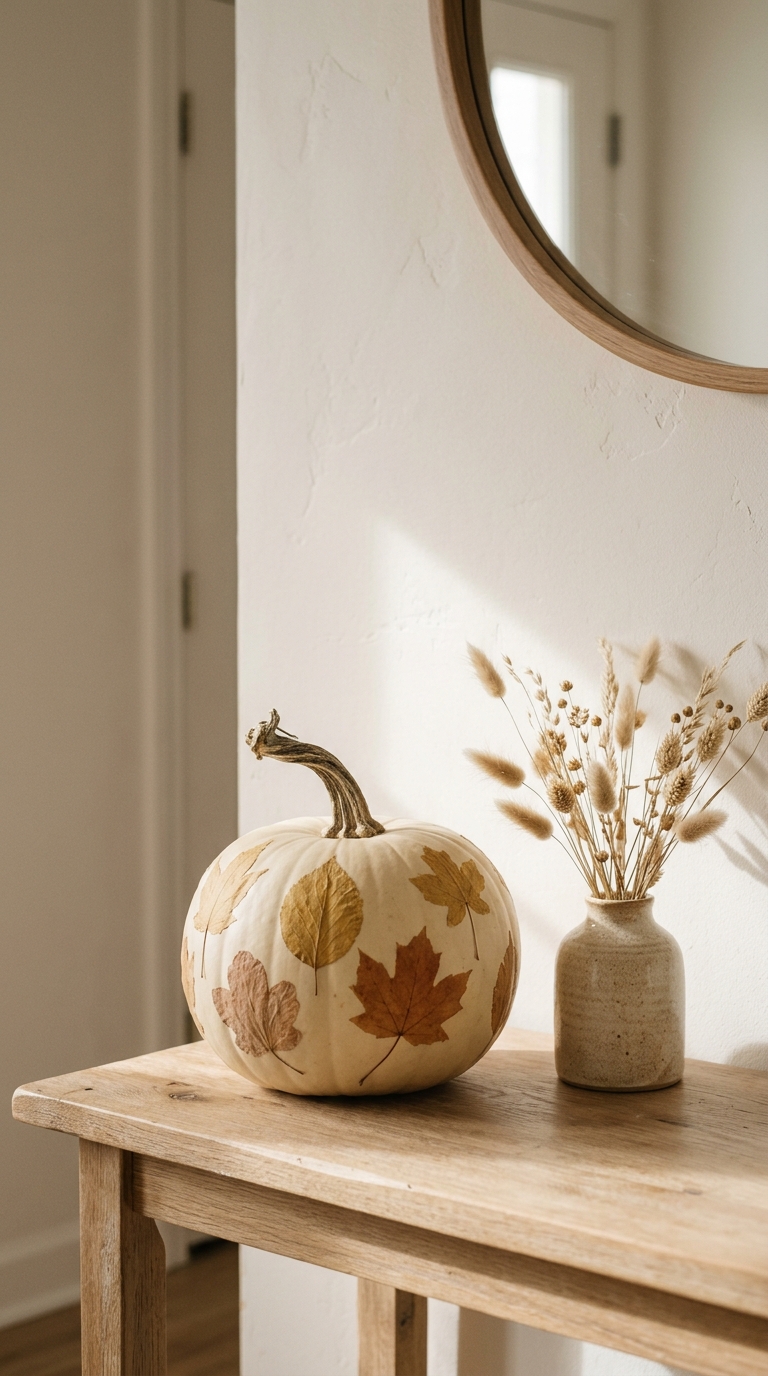
You can bring a little of the outdoors inside by adding pressed leaves to a pumpkin. This is a lovely option for a natural fall display.
What you’ll need:
- A clean pumpkin
- Pressed, fully dried leaves
- Decoupage glue
- A soft brush
How to make it:
Choose small, flat leaves that are completely dry. Apply a thin layer of glue to the back of each leaf, position it on the pumpkin, and gently smooth it down.
Add a few leaves at a time, leaving some of the pumpkin surface visible. Finish with a light coat of glue if the product instructions recommend it, then allow everything to dry thoroughly.
Display tip: Use leaves in muted gold, brown, and rust shades. A pale pumpkin makes their natural colors stand out.
8. Paint a Simple Folk-Art Floral Design
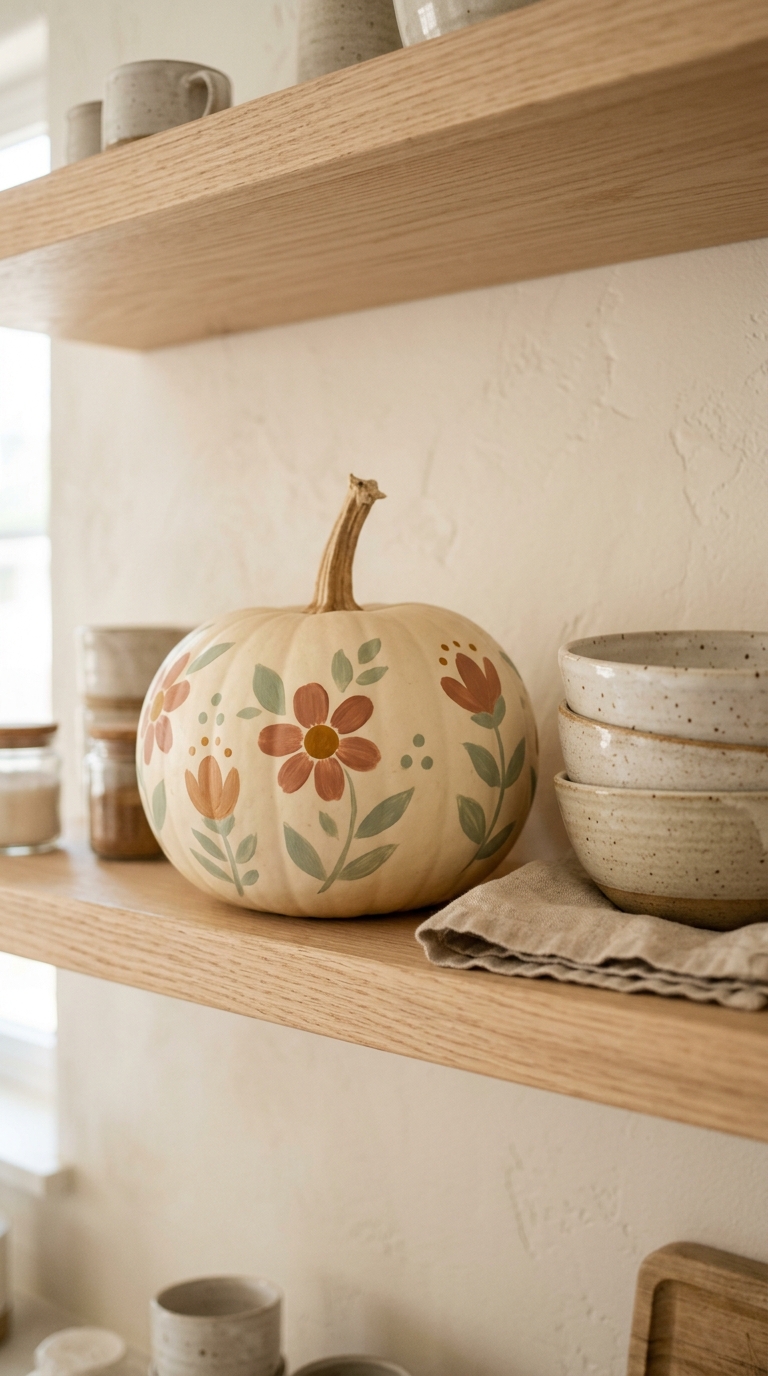
You don’t have to be an artist to create a pretty floral pumpkin. A few simple petals, leaves, and dots can make a plain pumpkin feel special.
What you’ll need:
- A smooth pumpkin
- Acrylic craft paint
- Small paintbrushes
- A pencil for lightly sketching the design
How to make it:
Begin with a simple flower shape. Paint a small circle in the center, then add rounded petals around it. Include a few leaves or dots to fill the design.
Work with two or three colors rather than trying to use every shade in your paint collection. Let each section dry before adding details that touch it.
Display tip: A single floral pumpkin can be a sweet addition to a bedroom dresser, kitchen shelf, or fall centerpiece.
9. Add Natural Texture With Twine
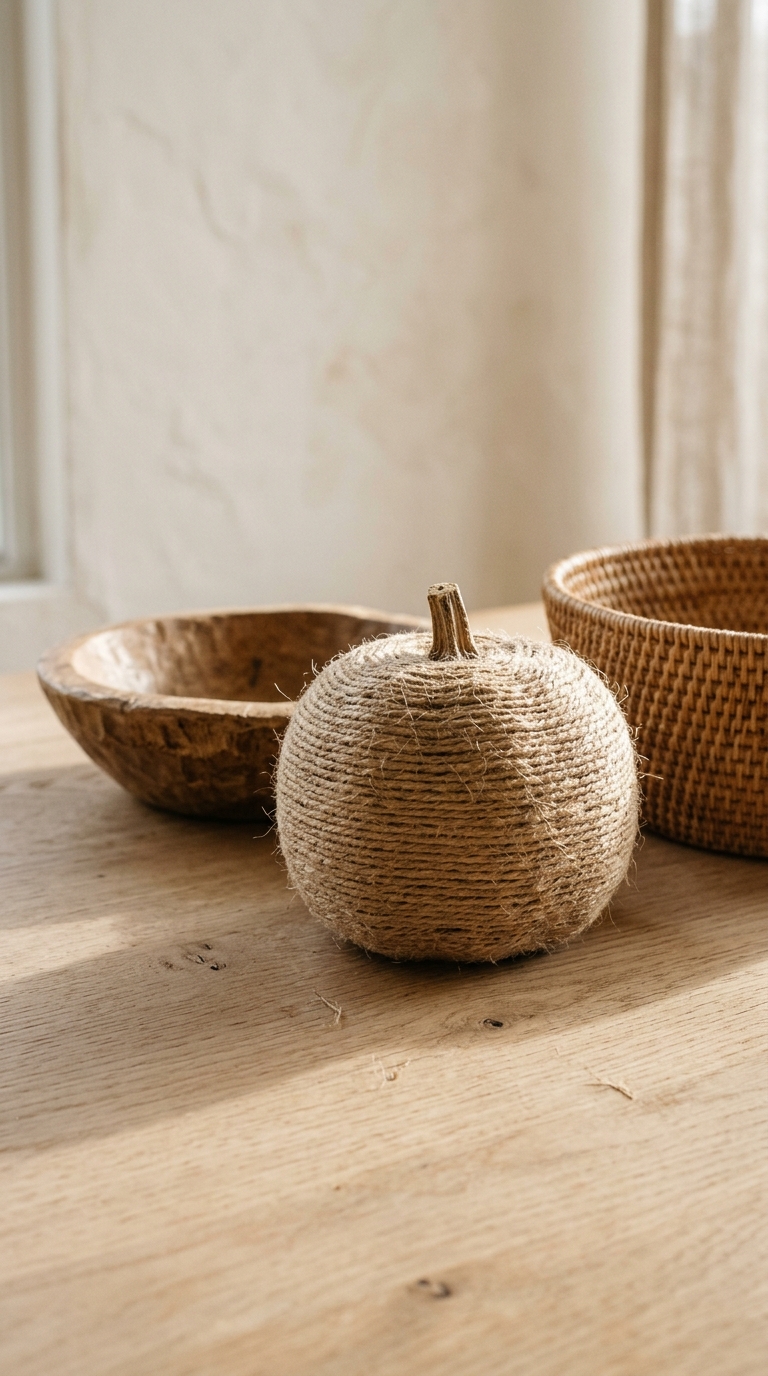
Twine gives a pumpkin a rustic finish that works well with farmhouse, country, and relaxed natural interiors.
What you’ll need:
- A small faux pumpkin
- Natural jute twine
- Craft glue suitable for the pumpkin’s surface
- Scissors
How to make it:
Apply a small amount of glue near the stem and secure the end of the twine. Wrap the twine around the pumpkin in neat rows, adding small dots of glue as needed.
Keep the rows close together for a more covered look, or leave some of the pumpkin visible for a lighter finish. Trim the twine and secure the final end underneath.
Display tip: This works best on smaller pumpkins. Pair one with a wooden bowl or woven basket rather than surrounding it with too many other decorations.
10. Create a Metallic Dot Pumpkin
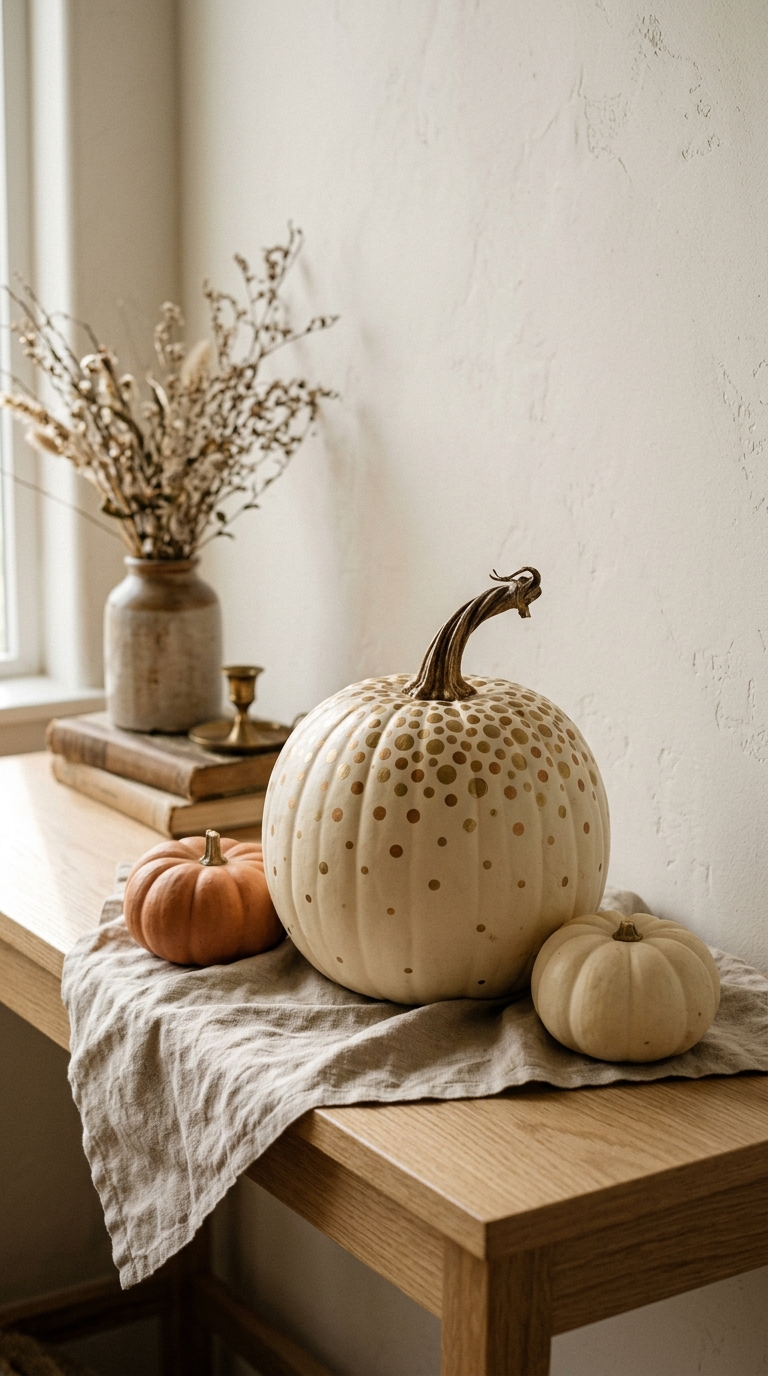
If you want a little shine without a glitter-covered decoration, metallic dots are an easy alternative.
What you’ll need:
- A pumpkin
- Metallic gold, bronze, or copper craft paint
- A small round brush or cotton swab
- A pencil
How to make it:
Lightly mark where you want the dots to go. Dip your brush or cotton swab into the paint and make small dots across the surface. Vary their spacing slightly to keep the pattern relaxed.
You can concentrate the dots around the top and let them become more scattered toward the bottom. Allow the paint to dry before moving the pumpkin.
Display tip: Use this idea sparingly. One metallic pumpkin among plain cream or orange pumpkins can look more elegant than a whole arrangement of shiny decorations.
11. Finish a Plain Pumpkin With a Fabric Bow
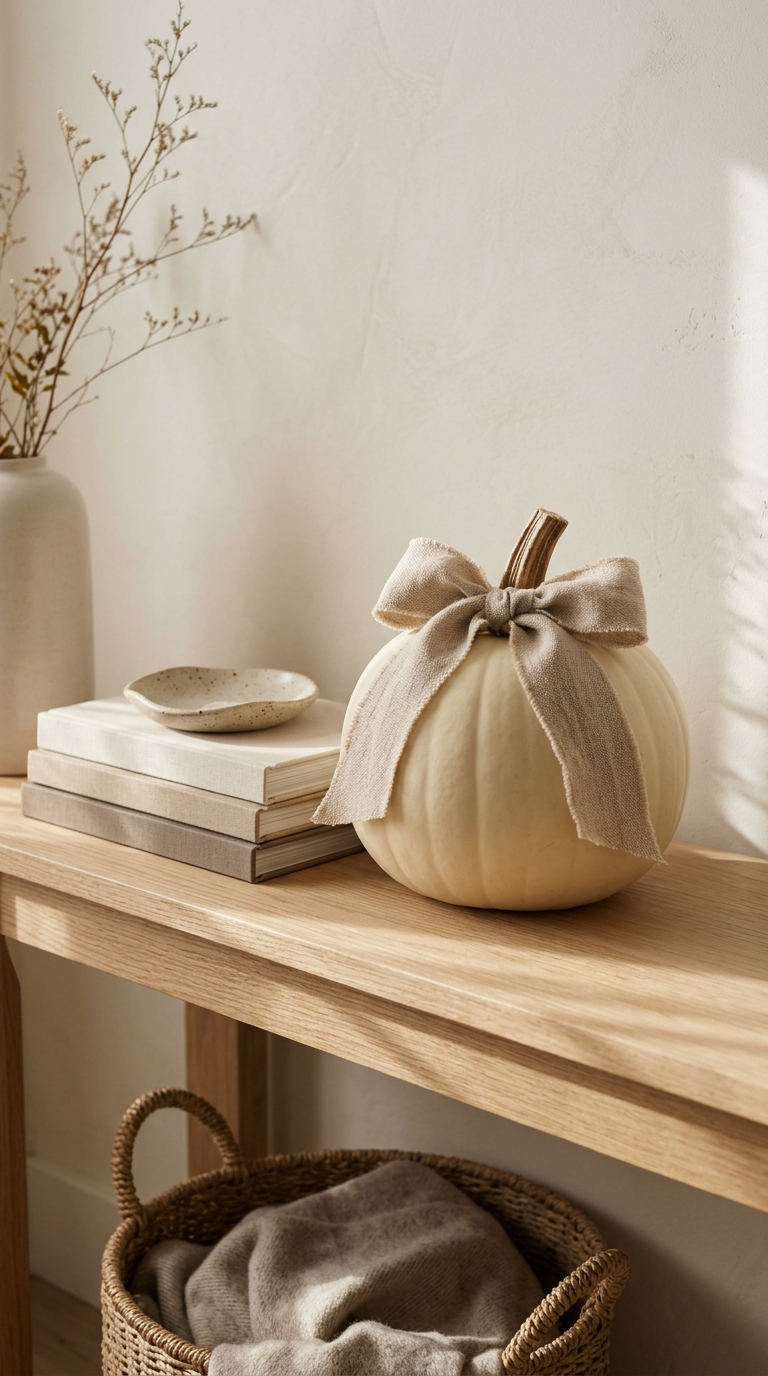
For a quick project that doesn’t require much crafting, add a fabric bow to a plain pumpkin. It’s especially useful when you want to refresh decorations you already own.
What you’ll need:
- A pumpkin
- A strip of fabric or wide ribbon
- Scissors
- Floral wire or a suitable adhesive
How to make it:
Cut a strip of fabric and tie it into a bow. Trim the ends neatly, then attach it near the pumpkin stem using floral wire or an adhesive suitable for the material.
You can use one large bow or a smaller one, depending on the size of your pumpkin. If you don’t want to attach anything permanently, tie the bow around the stem instead.
Display tip: Linen, cotton, gingham, and muted plaid fabrics all work well. Choose a fabric that complements the other colors in your room.
How to Choose the Right Pumpkin for Decorating
The pumpkin you choose can make a difference to how easy your project is and how long the finished decoration stays attractive.
For painting and detailed designs: Look for a smooth pumpkin with an even surface. Deep ridges can make it harder to paint neat patterns.
For natural and rustic projects: A pumpkin with visible ridges, an interesting shape, or a long stem can add character without needing much decoration.
For small arrangements: Mini pumpkins are easier to group on trays, shelves, and narrow tables. They are also useful when you don’t have much decorating space.
For decorations you want to reuse: Faux pumpkins are worth considering. You can store them after the season and bring them out again next year.
When buying real pumpkins, choose ones that feel firm and have no soft spots, bruises, or damaged stems. Avoid pumpkins that already feel soft or show signs of decay.
One important detail: once a real pumpkin has been painted or treated with glue, glitter, or other craft materials, don’t use it for cooking. Iowa State University Extension explains that decorated pumpkins should not be eaten. You can read its pumpkin care and disposal guidance.
How to Help Your Decorated Pumpkins Last Longer
One reason no-carve pumpkin decorating is so appealing is that you don’t have to cut into the pumpkin. Keeping the skin intact can help it remain in good condition longer, although no real pumpkin is guaranteed to last until a particular date.
A few simple habits can help:
- Start with a healthy pumpkin. Avoid soft spots, cracks, bruises, and damaged stems.
- Keep it dry. Moisture can encourage decay, so dry the surface if it gets wet.
- Avoid excessive heat and direct sunlight. A cooler, shaded spot is generally better than a hot windowsill.
- Protect outdoor pumpkins from harsh weather. Freezing temperatures, rain, and damp ground can shorten their display life.
- Handle it gently. Repeated bumps and pressure can damage the skin.
- Check it regularly. If a pumpkin develops soft spots, mold, or a bad smell, remove it from your display.
Whole pumpkins can last several weeks and sometimes much longer under suitable conditions, but their lifespan depends on their condition, variety, and storage environment. Carved pumpkins generally deteriorate much faster. Iowa State University Extension notes that some uncarved pumpkins remain attractive through Thanksgiving when kept dry and protected from freezing temperatures.
If you want a decoration you can confidently reuse next fall, a faux pumpkin is the more reliable choice.
Where to Display Your Decorated Pumpkins
You don’t need to decorate every room to make your home feel seasonal. A few thoughtfully placed pumpkins can be enough.
- Entryway: Place a small group on a console or inside a sturdy basket to welcome guests.
- Dining table: Use a low tray with mini pumpkins, dried leaves, or a simple fabric runner. Keep the arrangement low enough for conversation.
- Living room: Add one decorated pumpkin to a bookshelf, coffee table, or side table.
- Kitchen: Place a small pumpkin beside a fruit bowl or on an open shelf, away from heat and food-preparation surfaces.
- Front porch: Group larger pumpkins near the door, choosing a sheltered spot where they won’t sit in standing water.
If your home is small, choose one focal point instead of spreading decorations across every available surface. It will feel more intentional and leave your everyday spaces comfortable to use.
For more ideas on making seasonal decorations work in a compact home, see How to Decorate for Fall Without Making a Small Home Feel Cluttered.
If you’re still preparing your home for the season, our Small Space Fall Home Reset can help you make room before adding more decorations.
And if you’re planning a Thanksgiving gathering, you may also find How to Host Thanksgiving in a Small Home helpful when choosing a centerpiece and arranging your dining space.
Frequently Asked Questions
How can I decorate a pumpkin without carving it?
You can paint it, wrap it with fabric or twine, add dried leaves, use decorative paper, or create patterns with stencils. These methods let you decorate the outside without cutting into the pumpkin.
What kind of paint works best on pumpkins?
Acrylic craft paint is a practical choice for many pumpkin decorating projects. Clean and dry the surface first, and check that the paint is suitable for your pumpkin’s material. Follow the product instructions for preparation, drying, and outdoor use.
Will decorated real pumpkins last until Thanksgiving?
Some whole pumpkins remain in good condition for several weeks or longer, but it isn’t guaranteed. Choose a firm, undamaged pumpkin and keep it in a cool, dry, shaded location. Weather and storage conditions make a difference. If you need a decoration that will reliably last through the season, use a faux pumpkin.
Are faux pumpkins better than real pumpkins for decorating?
It depends on what you need. Real pumpkins offer natural shapes and textures, while faux pumpkins are reusable and often easier to paint or decorate repeatedly. For long-term seasonal decor, faux pumpkins are usually more practical.
What are easy pumpkin decorating ideas for kids?
Children can help paint simple patterns, add large stickers, choose ribbon colors, or decorate pumpkins with age-appropriate markers. Adults should handle hot glue guns, sharp tools, and spray paints. Choose suitable supplies and supervise the activity. Oklahoma State University Extension also offers guidance on decorating pumpkins safely with children.
Make Fall Decorating Simple and Personal
Beautiful fall decorations don’t have to involve complicated crafts, expensive supplies, or a crowded home. Sometimes one painted pumpkin, a little natural texture, or a simple fabric bow is enough to make a space feel warm and welcoming.
Try one or two of these DIY pumpkin decorating ideas with materials you already have, and choose designs that suit the way you live. Whether you’re decorating a small apartment, preparing your home for Thanksgiving, or simply enjoying the season, the best decorations are the ones that make your home feel more like yours.